
Exact Measurement from Cabinet Door Edge to Knob Center (Templates)
Achieving the perfect look for your kitchen requires precision when installing cabinet hardware. Finding the exact measurement from cabinet door edge to knob center (templates) is the most effective way to ensure symmetry and professional results across your entire cabinetry layout. By using a standardized approach, you avoid the common pitfalls of uneven placement and…
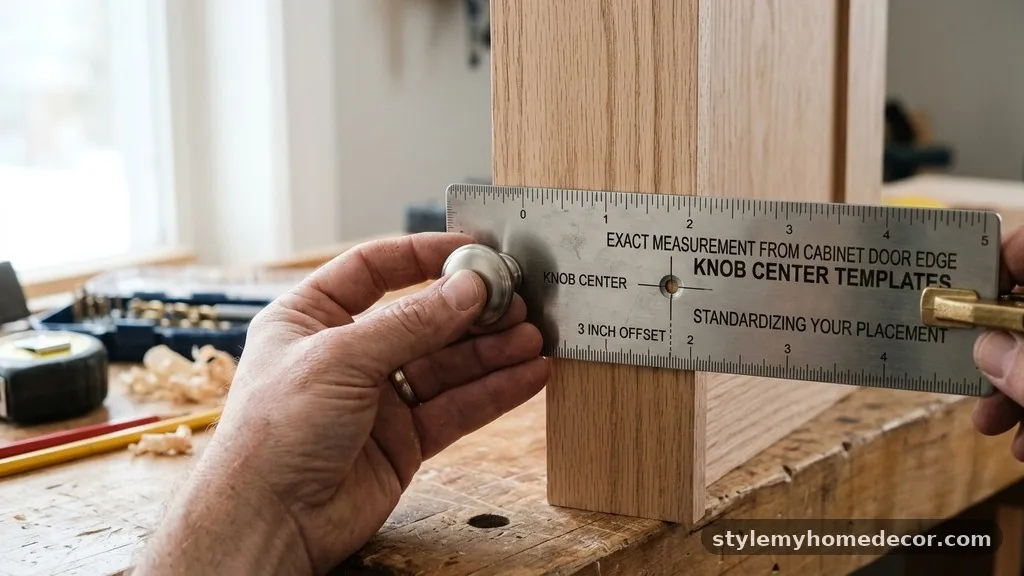
Achieving the perfect look for your kitchen requires precision when installing cabinet hardware. Finding the exact measurement from cabinet door edge to knob center (templates) is the most effective way to ensure symmetry and professional results across your entire cabinetry layout. By using a standardized approach, you avoid the common pitfalls of uneven placement and misaligned hardware that can detract from a high-end finish.
This guide provides the industry-standard dimensions and practical methods for locating your hardware accurately, helping you transform your space with confidence and ease. Proper planning is the difference between a DIY project that looks amateur and one that appears professionally installed.
For standard base cabinets, the exact measurement from cabinet door edge to knob center (templates) is typically 2.5 inches from the side edge and 2.5 inches from the top or bottom edge. If you are installing knobs on upper cabinets, the center point usually shifts to the bottom corner of the door, maintaining that same 2.5-inch distance from both the bottom and the side rail.
This distance is a widely accepted aesthetic standard because it aligns with the natural reach of the hand while keeping the hardware clear of the door frame or profile. Always measure from the outer edge of the door, not the inner panel, to maintain consistency across different door styles.
Standardizing Your Placement
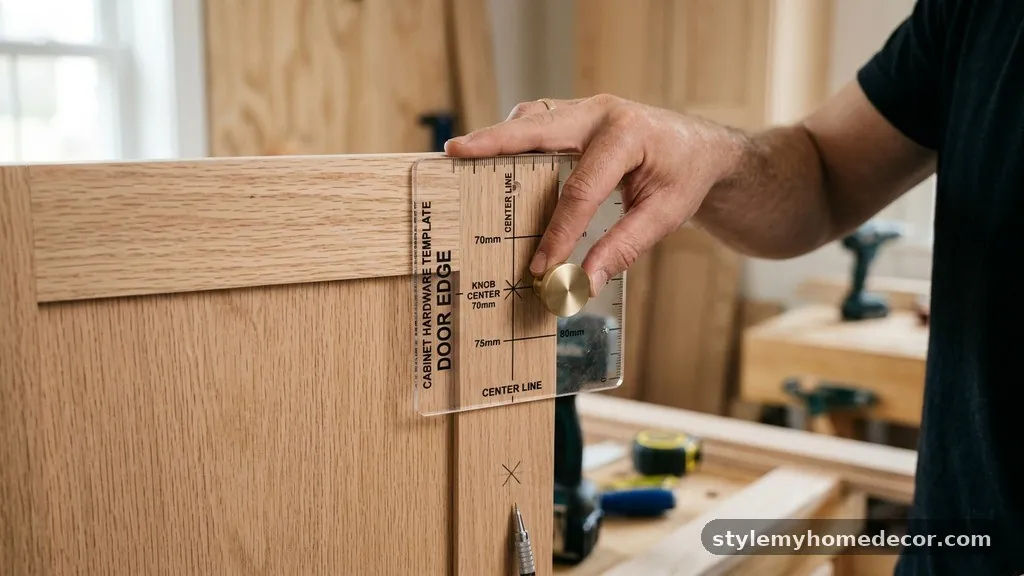
Consistency is the primary goal when you are mounting multiple knobs across a row of cabinets. If one knob is shifted even a quarter-inch from its neighbor, the human eye will immediately notice the misalignment.
By creating or purchasing a high-quality hardware template, you lock in your measurements before a single drill bit touches the wood. This method eliminates the need to measure each door individually, which is where most errors occur due to fatigue or slight variations in manual marking.
Understanding Door Overlay and Its Impact
The type of door overlay you have significantly influences your placement strategy. Full overlay doors cover the entire cabinet frame, meaning your hardware placement should be calculated from the outermost edge of the door slab itself.
In contrast, partial overlay or inset doors might require you to adjust your measurements to ensure the knob does not interfere with the frame or the door’s opening swing. If you are working with an inset door, ensure the knob is positioned far enough away from the hinge side so it doesn’t strike the frame when the door is opened.
The Role of Drilling Guides
A drill guide or a professional-grade hardware template is an essential tool for any kitchen renovation. These tools are often made of hardened plastic or aluminum and feature pre-drilled holes at standard intervals.
Using a jig allows you to slide the tool over the corner of the door, set your depth, and drill through the guide to ensure the hole is perfectly perpendicular to the door surface. This prevents the drill bit from “walking” or slipping, which can cause unsightly scratches on your cabinet finish.
Measuring for Pulls Versus Knobs
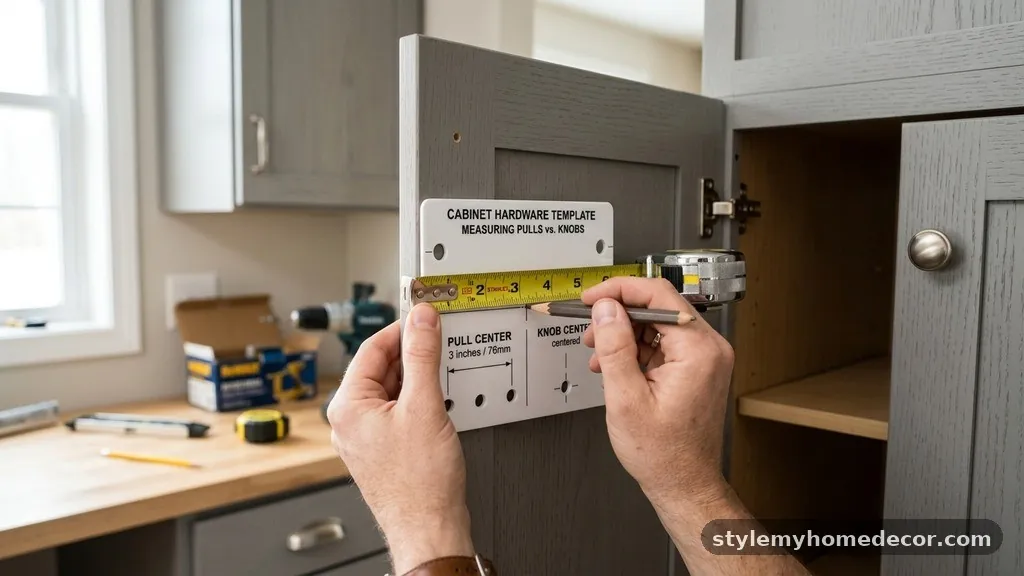
While knobs are centered on a single point, pulls require you to measure the distance between the two mounting posts. This is known as the center-to-center measurement, which is usually 3 inches, 96mm, or 128mm.
When installing pulls, you must first find the center point of where the handle will sit, then mark the two holes equidistant from that center. Many modern templates include adjustable sliders that allow you to set the center-to-center distance, ensuring the pull is perfectly level before you drill.
Common Cabinet Hardware Standards
| Hardware Type | Typical Distance from Edge (Inches) | Primary Consideration |
|---|---|---|
| Standard Knob | 2.5″ x 2.5″ | Reach and aesthetics |
| Small Pull | 2″ x 2″ (or centered) | Drawer size |
| Large Pull | Centered on stile | Vertical alignment |
| Appliance Pull | Centered on panel | Structural support |
Creating a Custom Template
If you cannot find a commercial template that matches your specific door profile, you can easily create your own using a piece of scrap hardboard or plywood. Cut the board to fit snugly over the corner of your cabinet door, creating an “L” shape that hugs the edge.
Mark your desired center point on this template and drill a hole through the wood. By using this custom jig, you can replicate the exact measurement from cabinet door edge to knob center (templates) across every door in your kitchen without recalibrating your tools.
Accounting for Drawer Fronts
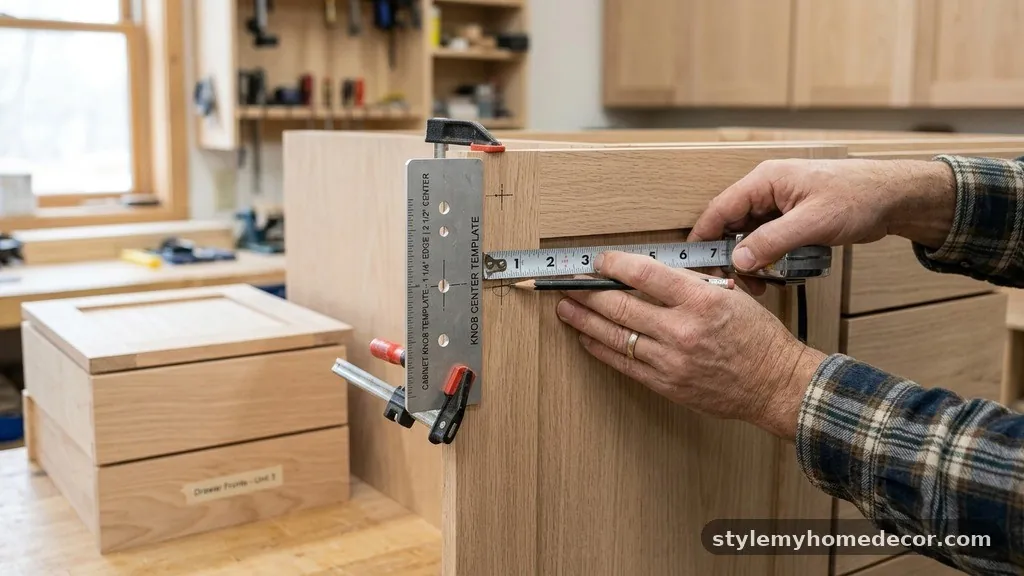
Drawers require a different approach than doors because the hardware is usually placed in the center of the drawer face. To find the center, measure the width and height of the drawer front and mark the intersection point.
If the drawer is very wide, you may choose to use two knobs or pulls; in this case, divide the drawer width into thirds and place the hardware at the one-third and two-thirds marks. This maintains balance and ensures the drawer opens evenly without binding on the slides.
Best Practices for Marking
Always use a sharp pencil or a fine-point marking tool to indicate your drill holes. If your cabinet doors have a dark finish, consider using a piece of painter’s tape over the area where you intend to drill.
This makes your pencil marks much easier to see and also helps prevent the drill bit from splintering the wood veneer or paint. Once the hole is drilled, you can simply peel away the tape, leaving a clean, professional-looking entry point for your hardware.
Tools for Precision Installation
Beyond the template, having the right drill bit is crucial for a clean installation. Use a bit that is exactly the size of the screw shank, typically 3/16 inch, but always check the manufacturer’s specifications for your specific hardware.
A brad-point drill bit is preferred because it features a sharp center spur that prevents the bit from wandering. You can find detailed technical specifications for various hardware types at the American National Standards Institute, which maintains testing standards for consumer products and hardware.
Troubleshooting Common Mistakes
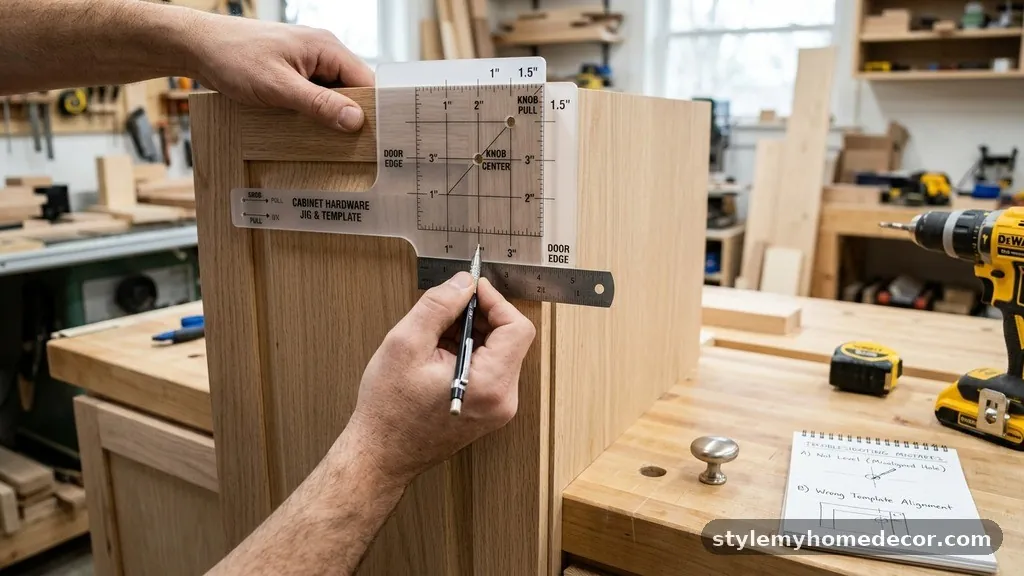
If you accidentally drill a hole in the wrong spot, don’t panic. Small mistakes can often be hidden by the base of the knob or the pull, especially if you choose hardware with a larger backplate.
For larger errors, wood filler that matches your cabinet finish can be used to plug the hole, followed by a light sanding and touch-up paint. However, prevention is always better, so double-check your measurements on a test piece of wood before you commit to drilling your actual cabinet doors.
FAQ on Hardware Placement
How do I know if my hardware is level?
Using a small torpedo level against the base of your template is the best way to ensure your holes are perfectly aligned. If you are installing a long pull, ensure the distance from the top of the door is identical for both the top and bottom holes of the handle.
Does the knob position change for upper versus lower cabinets?
Yes, the positioning often varies based on ergonomics. For upper cabinets, knobs are typically placed in the bottom corner so the user can reach up and pull the door open comfortably. For lower cabinets, they are usually placed in the top corner to avoid the need to bend down unnecessarily.
Can I use the same template for both doors and drawers?
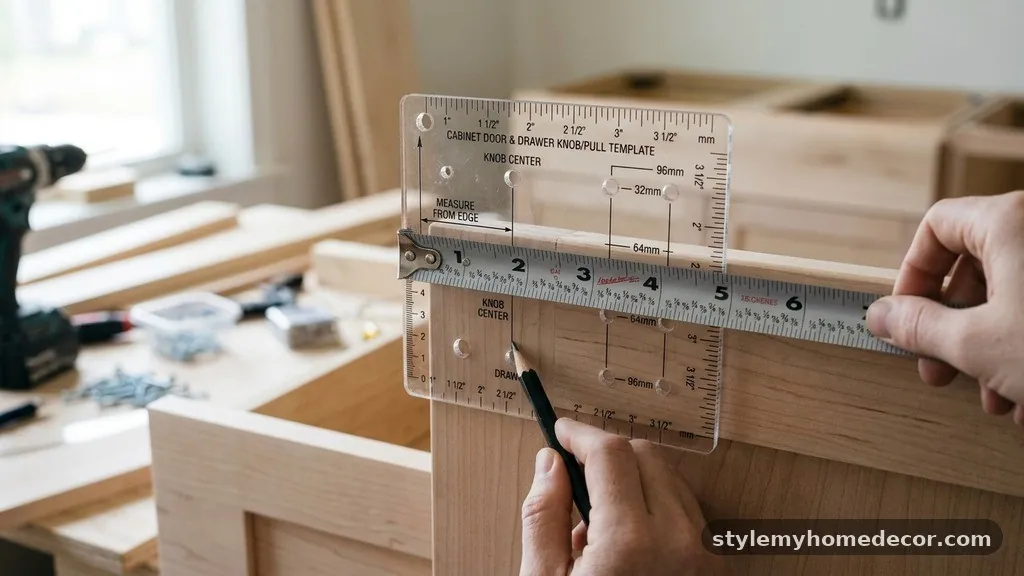
Most adjustable hardware templates are designed to be versatile and can be used for both. However, you may need to adjust the settings on the jig to accommodate the different geometries of a drawer front versus a door stile.
What if my cabinets are an unusual size?
If you have custom-sized cabinets, prioritize the “visual center” over strict mathematical rules. Stand back and hold the hardware against the door to see where it looks most balanced, then measure that distance and use it as your template reference.
Are there magnetic templates available?
Yes, some modern templates feature magnetic backing or clamps that hold the tool firmly in place against the cabinet surface. These are highly recommended if you are working alone, as they free up your hands to operate the drill with better control.
Ensuring Professional Results
The secret to a high-end kitchen finish lies in the small details, and the exact measurement from cabinet door edge to knob center (templates) is the most critical factor. By taking the time to create a consistent, reliable jig, you ensure that every piece of hardware is perfectly aligned, creating a sense of order and intentionality in your design. Whether you are using a commercial drill guide or a custom-made template, the process of measuring, marking, and drilling should be approached with patience and care.
Once your hardware is installed, you will immediately notice how much more polished and functional your kitchen feels. Remember to keep your template in a safe place, as you may need it for future cabinet additions or if you ever decide to replace your hardware with a different style. If you have questions about your specific cabinet layout or need further advice on hardware installation, feel free to reach out for more detailed project assistance.