How to Fix Crooked Hardware Holes in Shaker Cabinet Doors
Discovering that you drilled a hole in the wrong spot on a shaker cabinet door is a frustrating experience for any DIY enthusiast. You can successfully master fixing Crooked Hardware Holes in Shaker Cabinet Doors by using the right combination of wood filler, dowels, and patience. Whether you mismeasured or your drill bit drifted, these…
Discovering that you drilled a hole in the wrong spot on a shaker cabinet door is a frustrating experience for any DIY enthusiast. You can successfully master fixing Crooked Hardware Holes in Shaker Cabinet Doors by using the right combination of wood filler, dowels, and patience.
Whether you mismeasured or your drill bit drifted, these mistakes are reversible without needing to replace the entire door. This guide provides the precise steps required to patch the surface, sand it smooth, and re-drill the opening in the correct location for your new handles.
Initial Assessment of the Misalignment
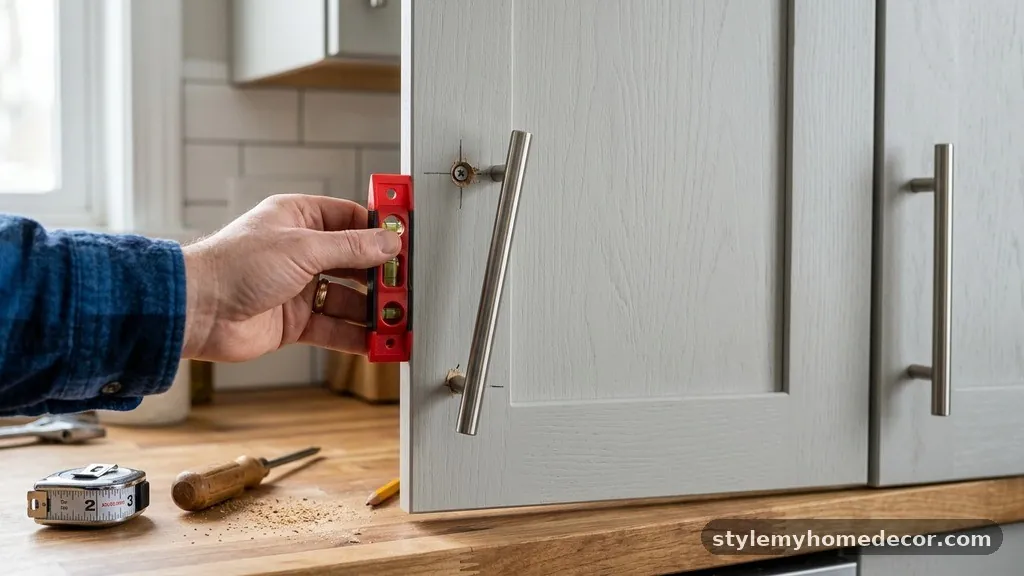
Before you reach for any tools, take a moment to evaluate the severity of the mistake. If the new hole is only slightly off-center, you might be able to hide it behind the base of the handle.
Most modern hardware has a footprint that covers a small margin of error. Measure the width of your handle’s mounting plate or base to see if the existing crooked hole will be fully concealed.
If the hole is too far off to be covered, you must proceed with a structural repair. Do not attempt to simply drill a new hole overlapping the old one, as the drill bit will naturally pull toward the path of least resistance.
This causes the bit to wander into the old hole, resulting in an even larger, more irregular opening. You need to create a solid, stable surface for the new screw to bite into.
Selecting the Proper Filling Material
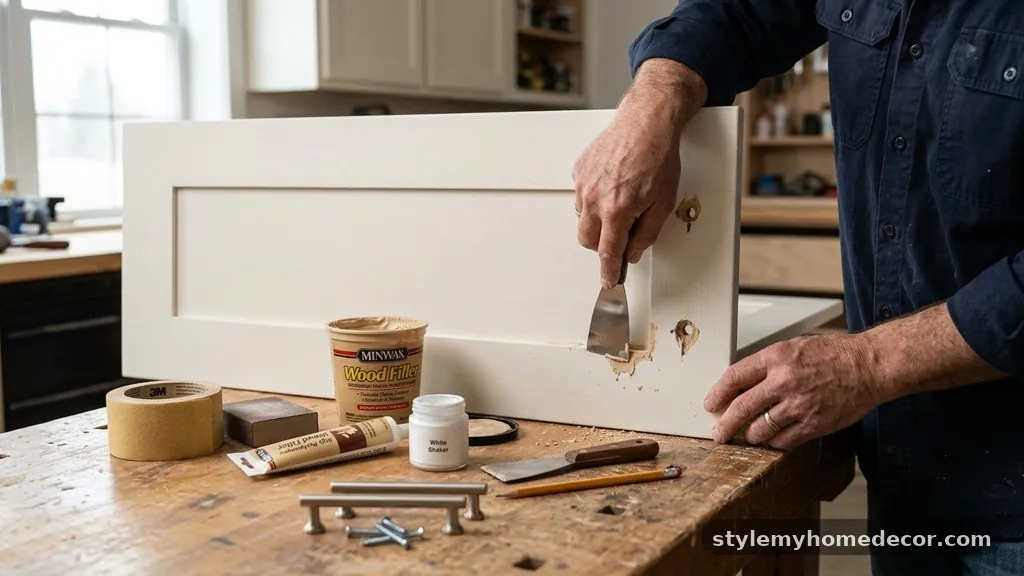
The choice of filler depends largely on the depth of the hole and the type of finish on your cabinets. For small, shallow imperfections, a high-quality wood filler is often sufficient. Ensure you choose a stainable filler if your cabinets are natural wood, or a paintable one if they are finished in a solid color.
For larger or deeper holes that pass entirely through the shaker rail, a wood dowel is the superior choice. Using a dowel provides a solid wooden core that mimics the density of the surrounding material.
This is crucial for hardware, as it ensures the screw stays tight over years of daily use. Avoid using simple putty for deep holes, as it can shrink or crumble when the screw is tightened.
Preparing the Hole for a Dowel
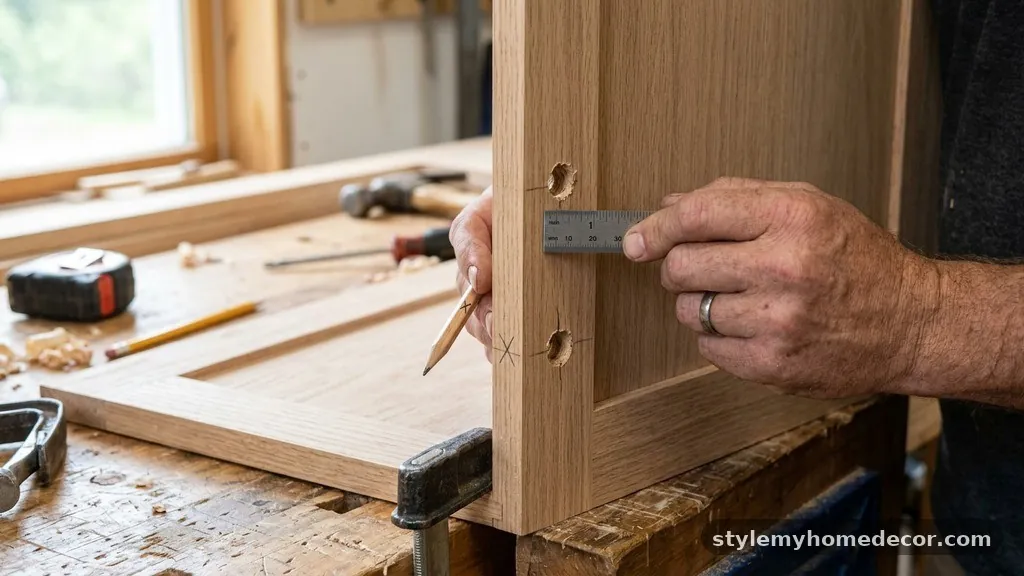
To properly fill a hole with a dowel, you should first clean up the edges of the existing opening. Use a sharp chisel to remove any splintered wood or raised fibers around the perimeter. A clean, circular hole makes the insertion of the dowel much easier and results in a stronger bond.
Next, select a drill bit that matches the diameter of your wooden dowel. Carefully drill out the old, crooked hole to create a uniform, clean cylinder.
This removes any jagged edges and provides a perfect fit for the plug. Wipe away all sawdust with a damp cloth to ensure the glue adheres properly to the raw wood.
Inserting and Gluing the Plug
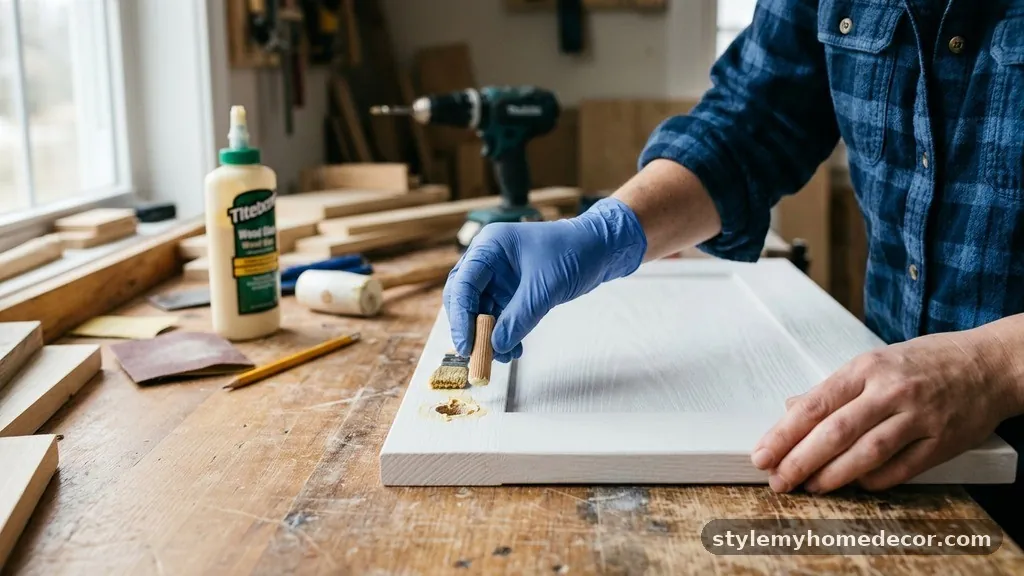
Apply a thin, even layer of high-quality wood glue to both the dowel and the inside of the hole. Gently tap the dowel into place using a rubber mallet until it is flush with the surface of the cabinet door. If the dowel is slightly long, it is better to leave it proud and trim it later rather than pushing it too deep.
Allow the glue to cure completely according to the manufacturer’s instructions. Most wood glues require at least 24 hours to reach maximum strength, though some fast-drying varieties may work in less time. Patience here is essential; if you attempt to sand or drill too soon, the dowel may shift or pull out entirely.
Trimming and Sanding the Surface
Once the glue has fully hardened, it is time to make the surface level. Use a flush-cut saw or a sharp wood chisel to carefully trim the excess dowel material.
Be extremely gentle to avoid gouging the surrounding finish of your shaker door. You want the plug to be perfectly even with the cabinet face.
After the plug is trimmed, start sanding with a medium-grit sandpaper, such as 120-grit. Gradually move to a finer grit, like 220-grit, to feather the edges of the repair into the original surface.
You should run your fingers over the area to ensure there is no detectable transition or bump. If the repair feels uneven, repeat the sanding process until the surface is perfectly smooth.
Matching the Cabinet Finish
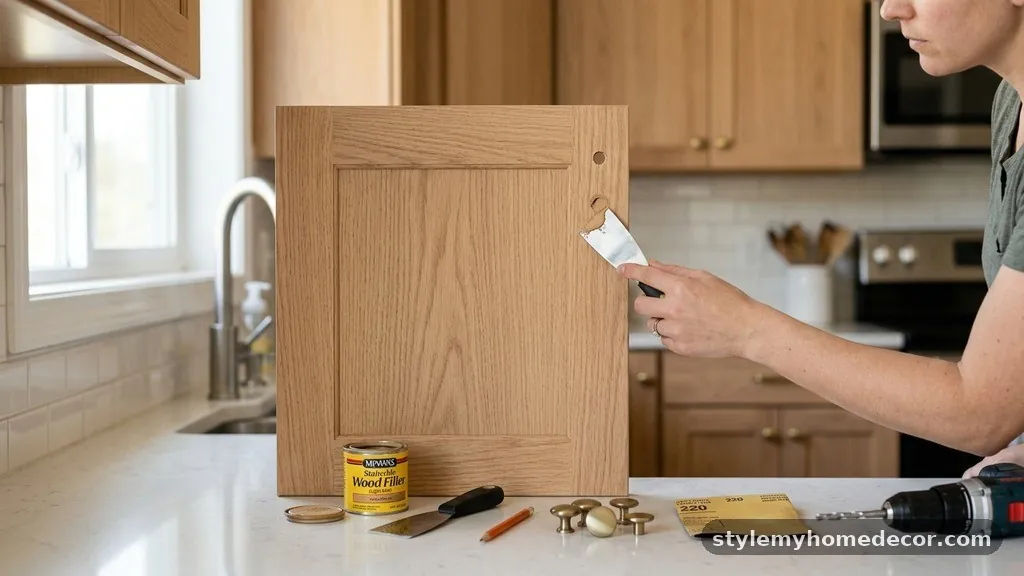
If your cabinets are painted, you will need to touch up the area where the repair occurred. Use a small artist’s brush to apply a thin coat of matching paint to the filled spot. It is often helpful to dab the paint rather than brushing it to mimic the texture of the original finish.
If the cabinets have a stain or clear coat, you may need a stain touch-up marker or a small amount of wood stain to blend the plug. Test your color match on a scrap piece of wood before applying it to the cabinet door.
This prevents permanent discoloration of the repair area. Once the touch-up is dry, you can apply a light coat of finish to seal the spot.
Using a Hardware Jig for Accuracy
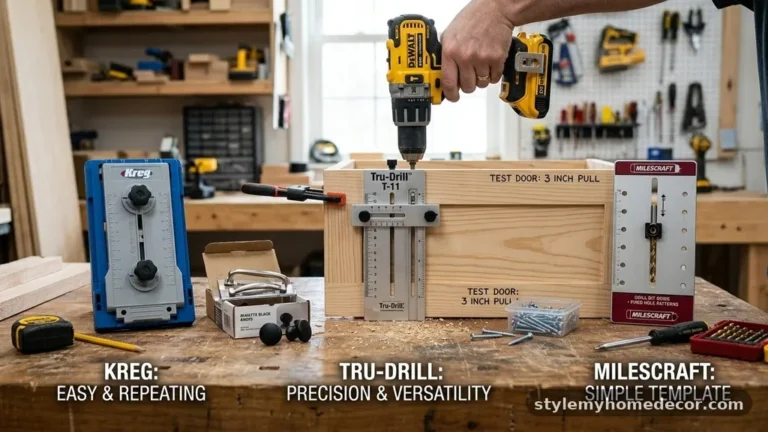
Once the repair is cured and finished, you must ensure the next attempt is successful. The most effective tool for this is a cabinet hardware jig, which locks your drill bit into the exact position you need. A jig eliminates the guesswork and human error that often lead to crooked holes in the first place.
Many professionals recommend using a jig even for single-hole pulls to ensure consistent placement. You can adjust the jig to the specific center-to-center distance of your hardware.
By tightening the jig against the edge of the door, you create a repeatable reference point that keeps every handle perfectly level across all your cabinets. For more information on precise installation, you can review woodworking tips from Wood Magazine regarding hardware placement.
Drilling the New Holes
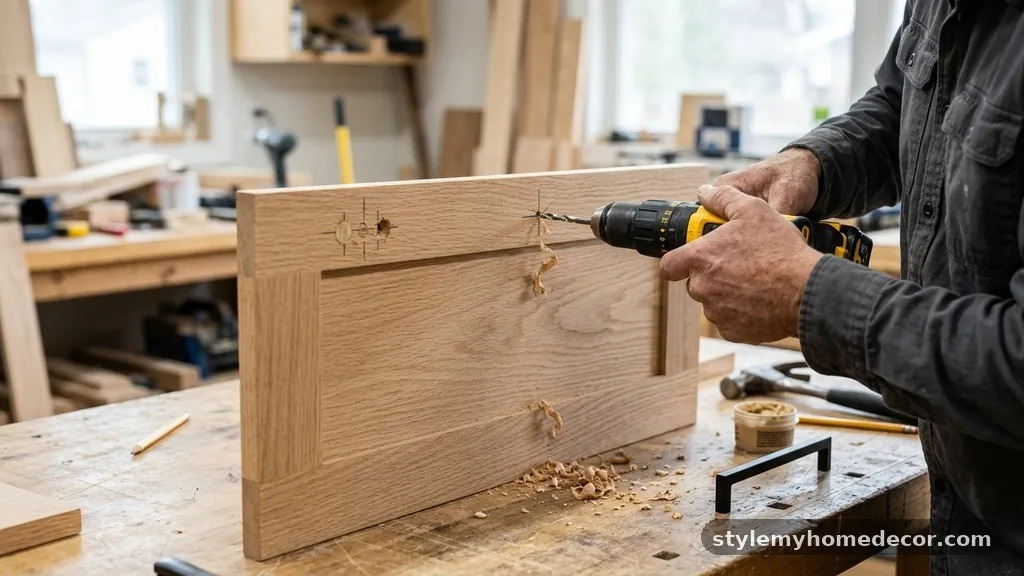
With the jig set, place a piece of painter’s tape over the area where you intend to drill. Tape helps prevent the drill bit from slipping when it first contacts the wood surface. It also minimizes tear-out on the face of the cabinet, which is especially important for shaker-style doors with thin veneer or paint finishes.
Start your drill at a slow speed to create a starter divot. Once the bit is tracking correctly, increase the speed and apply steady, even pressure.
Drill straight through the door until the bit exits the other side. Removing the drill while it is still spinning can help prevent internal splintering around the exit hole.
Data Comparison: Repair Methods
Choosing the right method depends on the size of the mistake and the available time. Refer to the table below to compare the common approaches used for fixing hardware alignment issues.
| Method | Best For | Strength | Drying Time |
|---|---|---|---|
| Wood Filler | Minor surface dings | Low | 1-2 Hours |
| Dowel Plug | Drill errors | High | 24 Hours |
| Epoxy Putty | Large gaps | Medium | 4-6 Hours |
Frequently Asked Questions
How do I stop my drill bit from walking?
Using a sharp center punch to create a small indentation before drilling is the best way to prevent walking. Additionally, using a dedicated drill guide or a hardware jig ensures the bit enters the wood perfectly perpendicular to the surface.
Can I use wood filler for a hole that goes all the way through?
It is not recommended. Wood filler lacks the structural integrity to hold a screw tightly over time. A wooden dowel creates a much stronger, more permanent repair that will not pull out when you tighten the cabinet handle.
What if I don’t have the exact paint match?
If you cannot find a perfect match at a local hardware store, take a cabinet door or a small piece of trim to a professional paint shop. They can perform a color match scan and mix a small sample jar of touch-up paint for you.
Is there a specific drill bit I should use for cabinet doors?
A brad-point drill bit is ideal for cabinet work. It features a sharp center point that prevents the bit from wandering, and the outer spurs cut the wood fibers cleanly to prevent tear-out on the surface.
How do I know if the hole is perfectly level?
Use a spirit level if you are installing multiple handles across a row of drawers or cabinets. For individual doors, measure the distance from the top and side edges of the door to the center of the hole to ensure symmetry.
Conclusion
Correcting mistakes during a kitchen renovation can feel daunting, but fixing Crooked Hardware Holes in Shaker Cabinet Doors is a manageable task with the right approach. By choosing a dowel for structural stability and using a hardware jig for the final placement, you ensure a professional result that stands the test of time. Always take your time during the filling and sanding phases, as a smooth, well-prepped surface is the foundation for a flawless finish.
Once you have successfully reset your hardware, your cabinets will look as though they were drilled perfectly the first time. If you run into further trouble or have questions about specific wood types, don’t hesitate to consult local hardware experts or professional cabinet makers for additional guidance.