
Can You Change a Shower Trim Kit Without Replacing the Valve Behind the Wall?
Deciding whether you can change a shower trim kit without replacing the valve behind the wall is a common dilemma for homeowners looking to refresh their bathroom. The short answer is yes, you can often update the exterior aesthetics without touching the plumbing rough-in valve. However, success depends entirely on whether your new trim is…

Deciding whether you can change a shower trim kit without replacing the valve behind the wall is a common dilemma for homeowners looking to refresh their bathroom. The short answer is yes, you can often update the exterior aesthetics without touching the plumbing rough-in valve. However, success depends entirely on whether your new trim is compatible with your existing internal hardware.
Understanding the relationship between your current valve body and modern aesthetic options will save you significant time, money, and labor. By learning the nuances of fixture brand alignment and the limitations of older systems, you can achieve a modern look without the need to cut into your finished shower walls.
The Feasibility of Trim Updates

In most residential plumbing scenarios, you do not need to replace the internal valve to swap out your shower handle or escutcheon plate. The trim kit is essentially the decorative “skin” of your shower faucet, while the valve is the functional heart that manages water flow and temperature. As long as the manufacturer of your valve remains the same, or you find a compatible universal adapter kit, the swap is straightforward.
You should first identify the brand of the valve currently installed in your wall. Most major manufacturers, such as Moen, Delta, and Kohler, design their trim kits to be backward compatible with their own older valve bodies. This means you can often keep a valve from the 1990s and install a sleek, modern handle assembly over it.
The primary hurdle is the physical connection points on the valve stem. If the new trim requires a different mounting configuration than the old one, you may encounter issues with the escutcheon plate alignment.
Always check the manufacturer’s documentation regarding plumbing fixture compatibility before purchasing a new kit. If you cannot identify the brand, you might have to remove the existing handle to inspect the cartridge or look for stamped markings on the metal.
Understanding Shower Trim Compatibility

When you set out to change a shower trim kit without replacing the valve behind the wall, you are effectively engaging in a process of matching hardware. Shower trim compatibility is dictated by the design of the valve body and the specific cartridge it uses. A trim kit is engineered to fit a specific series of valves, which is why brand loyalty is so important in plumbing.
If you have a Moen Posi-Temp valve, for instance, you are limited to trim kits designed specifically for that platform. Attempting to force a different brand’s handle onto a Moen valve will almost certainly fail because the splines on the valve stem will not match the handle’s internal receiver. This is where manufacturer-specific hardware becomes the deciding factor in your renovation plans.
Some companies offer a universal adapter kit that can bridge the gap between older valves and newer trim styles. These adapters allow for a wider range of aesthetic choices, but they are not a catch-all solution. Before buying, verify the dimensions of your valve stem and the depth of the wall cavity to ensure the new handle assembly won’t sit too far out or too far in from the finished wall surface.
Assessing the Existing Valve Body
Before you commit to a purchase, you must inspect the state of your current plumbing rough-in valve. A valve that is corroded, leaking, or showing signs of heavy mineral buildup might not be worth keeping. If the internal components are failing, changing the trim will only mask a deeper problem that will eventually require a full wall-opening repair.
To inspect the valve, you will need to remove the current shower handle assembly and the escutcheon plate. Once these are off, you can see the bonnet nut and the exposed portion of the shower cartridge. If you see active water weeping around the cartridge, you should replace the cartridge itself while the trim is off.
Replacing a cartridge is a standard part of plumbing maintenance and does not require replacing the entire valve body. You may need a specialized cartridge puller if the old one is stuck due to hard water deposits. Keeping the valve body but upgrading the cartridge and the trim is a common way to modernize a shower system while maintaining the existing plumbing infrastructure.
The Role of the Escutcheon Plate

The escutcheon plate is the metal or plastic cover that hides the hole cut into your shower tile or wall. When you are swapping trim kits, the size of this plate is a critical variable. If your new kit has a smaller escutcheon than the one you are removing, you might be left with an unsightly gap or exposed tile that was previously hidden.
Some modern trim kits are designed to be larger specifically to cover the footprint of older, bulkier designs. If you find a kit you love but the plate is too small, check for “thick wall” installation kits or decorator rings that can act as a buffer. These accessories allow you to bridge the gap between the wall opening and the new trim.
Always ensure the plate is sealed correctly against the wall with a high-quality plumbing sealant. Water intrusion behind the plate can lead to mold or damage to the wall substrate over time. Even if you aren’t replacing the valve, a fresh bead of silicone around the new escutcheon ensures that your update is functional as well as decorative.
Tools Required for the Swap
Changing your shower trim is a project that typically requires only basic hand tools found in most home workshops. Having the right equipment prepared before you start will prevent unnecessary trips to the hardware store. Because you are not touching the pipes behind the wall, you generally do not need a torch or heavy-duty pipe wrenches.
* Screwdriver set (both Phillips and flathead)
* Hex key (Allen wrench) set for set screws
* Adjustable wrench for the bonnet nut
* Plumber’s grease for O-ring lubrication
* Cartridge puller (if you plan to replace the internal cartridge)
* Utility knife for removing old caulk or sealant
Using a quality hex key is essential, as the set screw holding the handle in place is often prone to stripping if the wrong size tool is used. If the set screw is rusted, apply a small amount of penetrating oil and let it sit for a few minutes before applying pressure. Patience here will prevent you from damaging the valve stem or the handle assembly.
Comparing Trim Replacement vs. Valve Replacement
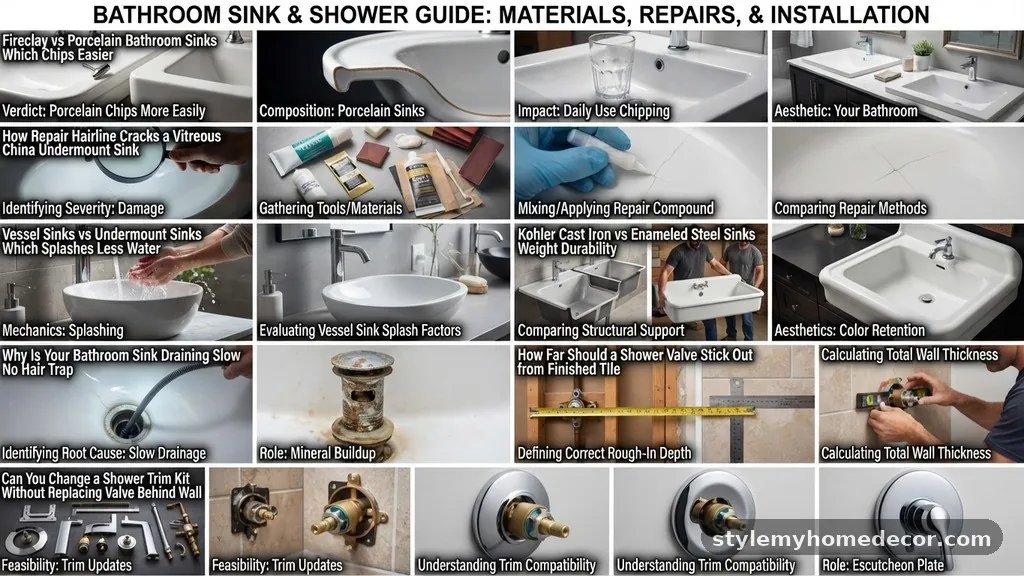
It is helpful to weigh the effort and cost of a simple trim swap against the reality of a full valve replacement. A trim swap is a cosmetic update that can be finished in an afternoon, while a valve replacement is a significant plumbing renovation. The following table outlines the key differences between these two approaches.
| Feature | Trim Kit Replacement | Full Valve Replacement |
|---|---|---|
| Complexity | Low (DIY friendly) | High (Requires plumbing skill) |
| Wall Damage | None (Surface only) | Requires opening the wall |
| Cost | $50 – $250 (Materials) | $500 – $1,500+ (Including labor) |
| Time Required | 1 – 2 hours | 1 – 3 days |
As shown in the data, the financial and temporal savings of sticking with your existing valve are substantial. Unless your valve is actively leaking or incompatible with any modern trim, there is little practical reason to open the wall. Most homeowners find that a fresh finish—like brushed nickel or matte black—provides the aesthetic result they desire without the structural headache.
Dealing with Obsolete Hardware
Sometimes, you may discover that your home contains a proprietary or discontinued valve system. This is common in homes built more than 20 years ago.
In these cases, finding a direct-fit trim kit might be impossible through standard retail channels. You may need to search for specialized suppliers that focus on vintage or discontinued plumbing hardware.
If you absolutely cannot find a compatible trim, you have two choices: replace the valve or look for a retrofit kit. A retrofit kit is designed to adapt an older, odd-sized valve to accept a modern, standardized connection. While these are not available for every brand, they can be a lifesaver for older homes.
If you choose to replace the valve, you will need to gain access through a plumbing access panel or by cutting a hole in the wall behind the shower. This is the point where most DIYers opt to hire a professional plumber. If you do this, ensure the new valve is a standard pressure-balanced valve that will be easy to find parts for in the future.
Common Mistakes During Installation
Even a simple job can go wrong if you overlook the details. One common error is failing to shut off the water supply to the shower before removing the cartridge. Even if you are just replacing the handle, it is a good safety practice to turn off the main water line if you are unsure about the state of the internal valve.
Another frequent mistake is overtightening the bonnet nut. The nut holds the cartridge in place, but if you crank it down too hard, you can warp the internal seals or make it impossible to turn the handle. Use a gentle touch and tighten it only until it is snug and the leakage stops.
Finally, do not forget to check the O-ring on the new cartridge or valve stem. If the O-ring is dry, it will fail quickly and cause a leak inside the wall. A light coating of plumber’s grease helps the seal seat correctly and ensures the handle operates smoothly for years to come.
Importance of Professional Standards
Following the guidelines provided by the International Association of Plumbing and Mechanical Officials ensures that your modifications remain safe and functional. Even when performing a minor cosmetic update, it is crucial to maintain the integrity of the plumbing system. If you are ever in doubt about the condition of your valve, it is better to consult a professional than to risk a hidden leak.
Proper installation of the shower handle assembly and escutcheon plate is not just about looks. It is about creating a barrier that prevents water from entering the wall cavity.
If you find that the parts are not fitting together as intended, do not force them. Forcing components often leads to damaged threads or cracked plastic parts, which can lead to larger problems later.
When you finish your installation, test the shower thoroughly. Check the handle for smooth operation and ensure there is no water dripping from the valve stem or behind the escutcheon plate. If everything is secure and dry, you have successfully upgraded your shower without the need for invasive wall work.
FAQ: Common Concerns
Is it possible to replace a shower valve without removing the wall?
Yes, it is possible if the valve is accessible through an existing plumbing access panel, usually located on the back side of the shower wall. If no such panel exists, you would typically need to cut into the wall to replace the valve body. However, if you are only changing the trim, you never need to touch the wall or the valve body itself.
Can I use a trim kit from a different brand?
Generally, no. Shower trim is almost always manufacturer-specific because the internal connections, such as the valve stem and the cartridge, are designed to fit only that brand’s hardware. While some universal adapter kits exist, they are limited in scope and do not work for every brand or model.
How do I identify my current shower valve brand?
Look for a logo on the handle, the escutcheon plate, or the shower head itself. If there are no markings, you may need to remove the handle assembly and look for a model number or unique shape on the cartridge. Often, taking a photo of the cartridge to a plumbing supply store will allow the staff to identify it for you.
What if my new trim kit does not cover the wall opening?
If the new escutcheon plate is smaller than the hole in your wall, you can purchase a larger decorative wall plate or a “remodeler’s plate.” These are designed specifically to cover larger gaps left behind by older, bulkier fixtures. Always measure your wall opening before purchasing a trim kit to avoid this issue.
Does changing the trim affect water pressure?
No, changing the trim does not affect water pressure. The water pressure is controlled by the valve body and the plumbing lines behind the wall. If you are experiencing low pressure, the issue likely lies within the cartridge, the shower head, or the pipes themselves, not the decorative handle assembly.
Final Thoughts on Trim Upgrades
Updating your bathroom with a new look is a rewarding project that can significantly refresh the room’s appearance. Knowing that you can change a shower trim kit without replacing the valve behind the wall provides the confidence to tackle this task as a weekend DIY project. By verifying your fixture brand, inspecting the existing valve for integrity, and selecting a compatible trim kit, you avoid the cost and complexity of a full plumbing renovation.
Always prioritize the quality of the seal and the proper fit of the components to protect your walls from moisture. With the right tools and a bit of patience, your shower will look brand new, proving that you don’t always need to tear down walls to achieve a modern, updated aesthetic. If you encounter unexpected issues, don’t hesitate to reach out to a local professional to ensure your plumbing remains in top condition.