How Far Should a Shower Valve Stick Out from the Finished Tile?
Knowing how far should a shower valve stick out from the finished tile is the difference between a functional, leak-free bathroom and a complete plumbing nightmare. If the valve is buried too deep, your handle won’t attach properly, leading to water leaks behind your wall. If it sticks out too far, you will have an…
Knowing how far should a shower valve stick out from the finished tile is the difference between a functional, leak-free bathroom and a complete plumbing nightmare. If the valve is buried too deep, your handle won’t attach properly, leading to water leaks behind your wall. If it sticks out too far, you will have an unsightly gap between the trim and the wall that no amount of caulk can hide.
Most modern valves require the plaster guard to sit flush with or slightly behind the surface of the finished wall. Getting this measurement correct before you finalize your substrate is the most important step in a successful shower faucet installation.
Defining the Correct Rough-In Depth
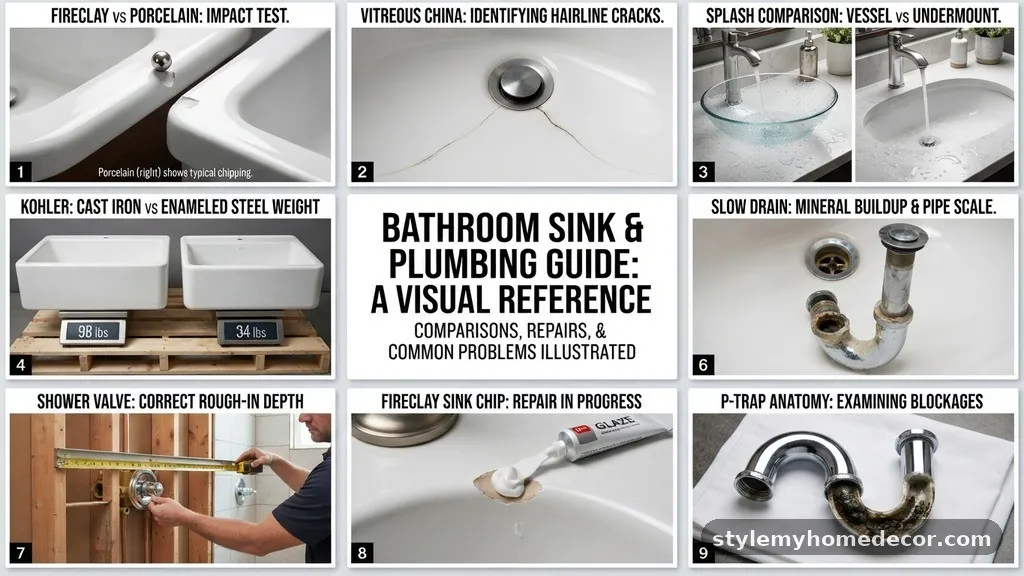
The ideal position for your valve is determined by the manufacturer’s specific instructions for the rough-in valve. You must account for every layer of material that will sit between the valve body and the final decorative surface.
This includes your studs, the cement board or backer board, any applied waterproof membrane, and the thin-set mortar layer used to adhere the tile itself. If you ignore the cumulative thickness of these materials, you will find yourself in a difficult position once the mortar dries.
Most manufacturers provide a range for the shower valve depth, typically measured from the front of the mounting bracket or the back of the valve body to the front of the finished wall surface. You should always consult the technical specification sheet included in the box before you secure the valve to the plumbing framing.
While many valves offer a tolerance of about 1/2 inch, aiming for the exact center of that range provides the most flexibility. When in doubt, it is safer to have the valve sit slightly deeper than the finished wall, as it is much easier to add a simple extension kit than it is to tear out finished tile to push a valve back.
Calculating Total Wall Thickness
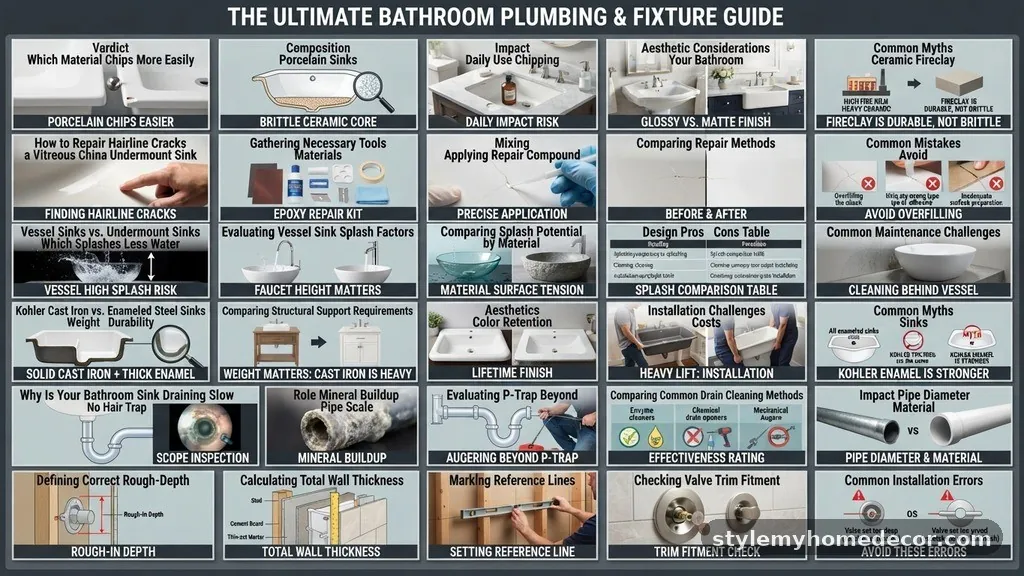
To determine exactly how far should a shower valve stick out from the finished tile, you need to conduct a physical inventory of your wall assembly. Start by measuring the thickness of your wall substrate, which is usually 1/2 inch or 5/8 inch cement board.
Next, add the thickness of your chosen tile, which can range from 1/4 inch for glass mosaics to 1/2 inch or more for heavy-duty porcelain. Don’t forget to include the layer of thin-set mortar, which usually adds another 1/8 inch to 3/16 inch of total depth.
By summing these components, you get a clear picture of the total distance from the framing to the finished wall surface. If you are using a waterproof membrane like a liquid-applied coating or a sheet product, that adds a negligible but real amount of material to the stack.
If it protrudes too far, you might have to install a thicker tile or use a specialized spacer. Conversely, if you find that your valve is set too shallow, you must address this before the tiling begins.
| Component | Typical Thickness (Inches) |
|---|---|
| Cement Board | 0.50 |
| Thin-set Mortar | 0.15 |
| Finished Tile | 0.375 |
| Total Wall Depth | 1.025 |
The Role of the Plaster Guard
The plastic cover that comes attached to your valve is not just for protection during the rough-in phase. This component, often called a plaster guard or mud guard, is actually a vital depth gauge for your installation.
Most manufacturers design the front edge of this guard to represent the plane of the finished wall. When you are securing the valve to the plumbing framing, you should align this guard so that it sits flush with where your tile will eventually be.
If the plaster guard sits significantly behind the wall, your valve is too deep. If the guard extends way past the wall, your valve is too shallow. Some guards have markings on them that indicate the minimum and maximum depths allowed for the valve to function correctly.
You can learn more about these standards through the International Association of Plumbing and Mechanical Officials to ensure your local codes are met. Using the guard as a physical reference point prevents the common mistake of guessing the depth by eye.
Addressing Valves Installed Too Deep
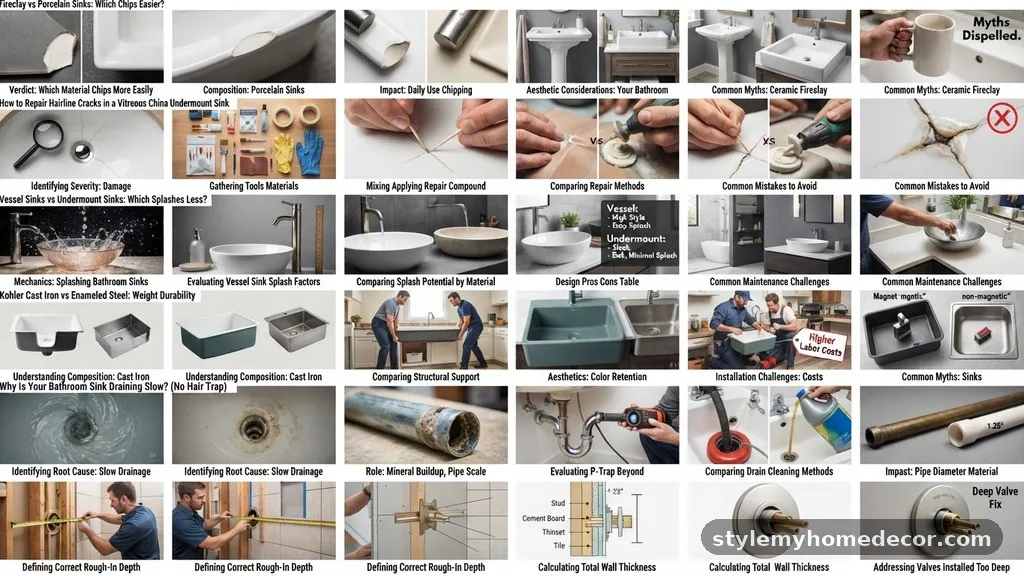
If you discover your valve is sitting too deep after the tile is installed, don’t panic. Many major manufacturers, such as Delta or Moen, offer a valve extension kit specifically designed for this scenario.
These kits usually include longer screws and an extended sleeve for the cartridge depth, allowing the handle to reach the valve stem through the deeper wall. These parts are essential when you decide to add a layer of stone or tile over an existing wall, which increases the total depth beyond the original design specs.
Installing an extension kit is a standard procedure, but it does require careful alignment to prevent the shower trim from wobbling. You will need to remove the existing handle and escutcheon plate to access the internal components.
Once the extension is in place, ensure the seals are tight to prevent water from leaking into the wall cavity. While it is an extra step, using the manufacturer’s genuine extension parts ensures that your shower faucet installation remains reliable for years to come.
Handling Valves Installed Too Shallow
A valve that sticks out too far is a trickier problem because the escutcheon plate will not sit flush against the tile. This leaves a gap that is both unsightly and a potential entry point for water, which can damage your wall substrate over time.
If the valve is only protruding by a small fraction of an inch, you might be able to use a thicker bead of silicone sealant to bridge the gap. However, this is a cosmetic fix and does not address the underlying structural issue.
In cases where the valve is significantly protruding, you may need to shim the entire wall or use a thicker tile setting bed to bring the wall surface out to meet the valve. This is labor-intensive and often expensive, which is why verifying your depth during the rough-in phase is so critical.
If the protrusion is extreme, the only professional solution is to disconnect the plumbing, move the valve back into the wall, and re-solder or re-crimp the connections. Do not attempt to force the trim on, as this can put stress on the valve body and lead to premature failure of the internal cartridge.
Essential Tools for Measuring Depth
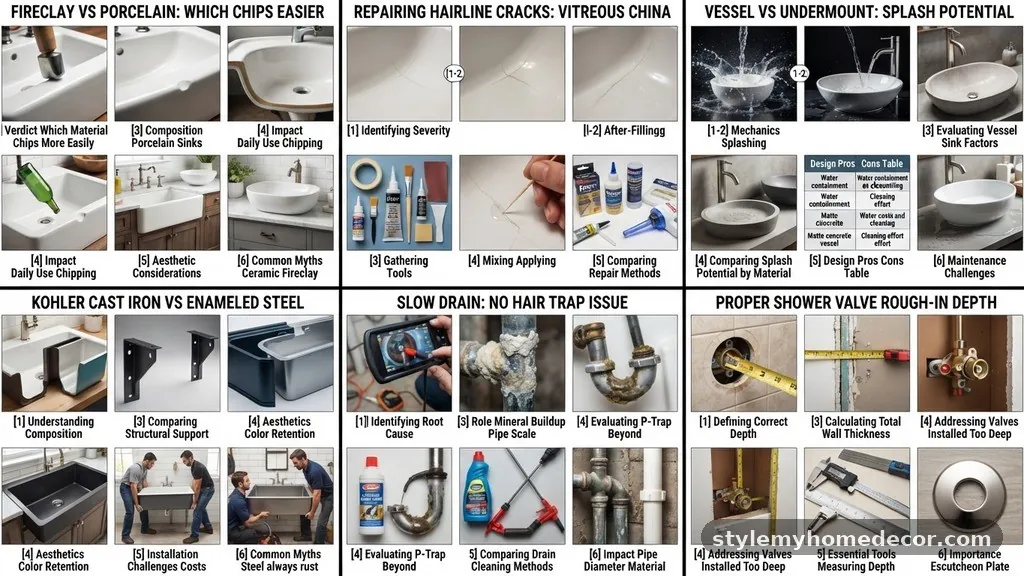
You don’t need expensive equipment to get your rough-in depth right, but you do need a few basic tools. A standard tape measure is the most important item in your kit.
You should also use a straight edge, like a level or a flat piece of scrap lumber, to bridge across your wall studs. By holding this straight edge across the studs, you can measure the distance to the valve mounting bracket with precision.
Some professionals use a dedicated depth gauge or even a simple piece of cardboard cut to the thickness of their planned wall assembly. You can hold this template against the valve to see if it aligns with the intended finished surface.
Accuracy here is non-negotiable, but their presence is essential. Taking the time to check your measurements three times before you close up the wall is a small investment that prevents massive headaches later.
Common Mistakes to Avoid During Rough-In
One of the most frequent errors is failing to account for the thickness of the thin-set mortar. Many DIYers calculate the depth of the cement board and the tile but forget that the mortar layer adds a significant thickness.
Another common mistake is ignoring the thickness of the waterproof membrane. While thin, these membranes can add up, especially if you are applying multiple coats or using a thick sheet-based system.
Another error is failing to secure the valve to the plumbing framing properly. If the valve is loose, it might shift during the tiling process, ruining your carefully calculated depth. Always use a dedicated valve mounting bracket to ensure the valve body stays rigid.
Finally, do not assume that all valves are the same. Even if you have installed a specific brand before, always check the technical documentation for the specific model you are using on your current project.
The Importance of the Escutcheon Plate
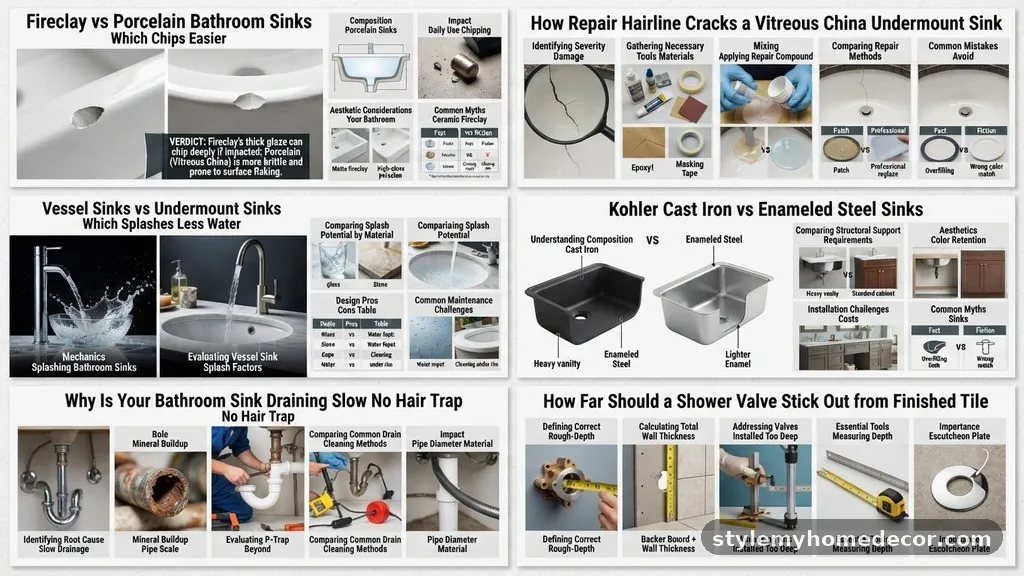
The escutcheon plate is the circular or square trim piece that covers the hole in your tile. It serves two purposes: it provides a finished aesthetic, and it protects the wall from water splashes.
If your valve depth is incorrect, the escutcheon plate will either not sit flat against the wall or the handle will not be able to attach to the cartridge. This is why knowing how far should a shower valve stick out from the finished tile is so central to the entire project.
If you are using a large, decorative escutcheon plate, you might have a bit more room for error, as these plates can sometimes mask minor alignment issues. However, if you are using a minimalist, low-profile trim, your margin for error is almost zero.
Always dry-fit your trim parts before you finish your tile work. If the parts don’t fit perfectly, you still have time to make adjustments to the valve position or the tile setting.
Steps for a Successful Installation
Start by mocking up your entire wall assembly on a flat surface. Stack your cement board, your mortar, and your tile to see the total thickness.
Use this stack as a reference whenever you measure the distance from your studs to the front of your valve. Once you have the valve mounted, double-check the measurement against the manufacturer’s spec sheet one last time.
After you have confirmed the depth, install your cement board around the valve. Keep the hole in the board as tight as possible to the valve body, but leave enough room for the plaster guard to be removed later.
Once the tile is installed, use a high-quality silicone sealant around the escutcheon plate to create a watertight seal. This final step is the last line of defense against moisture entering your wall cavity, which is vital for long-term durability.
Frequently Asked Questions
How do I know if my shower valve is too deep?
If the handle does not reach the cartridge or if the escutcheon plate cannot sit flush against the wall, your valve is likely too deep. You will need to install an extension kit to bring the connection points out to the finished surface.
Can I adjust the depth of the valve after the tile is finished?
Generally, no. Once the tile is set, the valve is fixed in place. You can only address depth issues by using extension kits for deeper valves or by potentially modifying the trim, but moving the valve body itself requires removing the tile and wall substrate.
Why does the manufacturer’s instruction mention a range of depths?
The range accounts for variations in wall materials and the thickness of different types of tiles. It allows the installer to accommodate standard wall assemblies while still ensuring the valve functions correctly within the tolerances of the cartridge.
What happens if the hole in the tile around the valve is too big?
If the hole is larger than the diameter of your escutcheon plate, water will get behind the tile. You should use a larger plate if available, or in some cases, you may need to replace the damaged tile with a new one that has a smaller, more precise cutout.
Do all shower valves use the same depth measurements?
No, every brand and model is different. You must always refer to the specific installation manual for your valve. Never assume that a measurement from one manufacturer will work for another, as the internal geometry of the valves differs significantly.
Conclusion
Getting the depth of your plumbing components right is a critical stage in any bathroom renovation. When you understand exactly how far should a shower valve stick out from the finished tile, you avoid the common pitfalls that lead to leaks and expensive rework. By accounting for your substrate, mortar, and tile thickness early in the process, you create a foundation for a professional, long-lasting installation.
Always use the manufacturer’s provided plaster guard as your primary reference, and dry-fit your trim before finalizing your finish work. If you find yourself facing depth issues, remember that extension kits and careful planning are your best tools for achieving a clean, reliable result. Take your time with these measurements, and your shower will function perfectly for years to come.