
How to Install Backplates on Cabinets to Hide Old Mismatched Holes
Learning the process of installing Backplates on Cabinets to Hide Old Mismatched Holes is a practical skill that saves homeowners from expensive door replacements or tedious wood-filling projects. When you upgrade your kitchen or bathroom hardware, you often encounter existing drill points that don’t align with your new modern knobs or pulls. Using metal or…
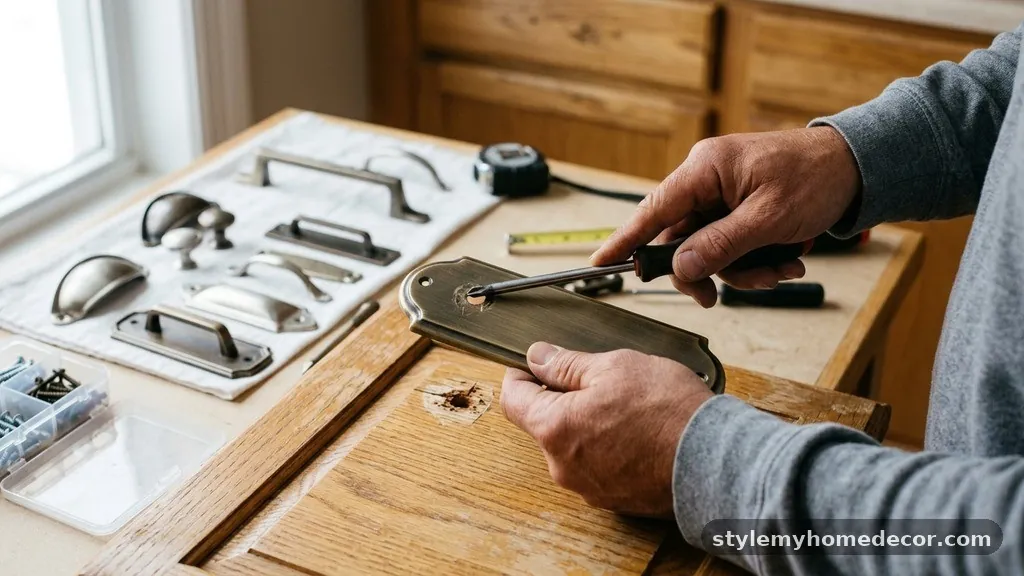
Learning the process of installing Backplates on Cabinets to Hide Old Mismatched Holes is a practical skill that saves homeowners from expensive door replacements or tedious wood-filling projects. When you upgrade your kitchen or bathroom hardware, you often encounter existing drill points that don’t align with your new modern knobs or pulls.
Using metal or decorative plates provides a sophisticated way to mask these unsightly gaps while adding a touch of classic design to your furniture. This article explains the precise steps required to achieve a professional finish, ensuring your cabinetry looks refreshed and intentional rather than patched together.
Assessing Your Existing Cabinet Hardware Configuration

Before you commit to a specific style, you must evaluate the current state of your cabinet doors. Take a close look at the existing holes to determine if they are horizontal, vertical, or perhaps misaligned in a way that suggests a previous DIY attempt. You need to know the center-to-center measurement of the old holes to ensure your chosen backplate is large enough to provide full coverage.
Measure the distance between the two holes precisely using a digital caliper or a high-quality tape measure. If the holes are uneven, you might need a wider backplate or a specific shape that accommodates the variance. Don’t assume all standard hardware is the same size, as older cabinetry often features non-standard spacing that requires custom solutions.
Once you have your measurements, compare them against the dimensions of the new hardware you plan to install. If the new handle is a single knob, you might need a backplate that covers two previous holes, which effectively turns a two-hole installation into a single-point mount. This specific strategy is a favorite among renovators looking to simplify their hardware layout while hiding past mistakes.
Selecting the Right Style of Hardware Backplates

Choosing the correct backplate is about more than just coverage; it is about matching the aesthetic of your home. You can find options ranging from minimalist metal rectangles to ornate antique brass designs. Consider the existing finish of your hinges and appliances to maintain a consistent look throughout the room.
Material choice matters significantly for the durability of your kitchen or bathroom cabinets. Solid brass or stainless steel will hold up better in high-moisture areas compared to thin, stamped metal alternatives. If you are aiming for a modern look, sleek rectangular plates with rounded edges offer a subtle transition between the door surface and the pull.
Think about the texture and depth you want to add to your cabinetry. A backplate adds a layer of dimension that can make a flat-front door feel more custom and expensive. You can review various hardware specifications through reliable resources like the National Park Service’s Heritage Documentation Programs to see how historical hardware was mounted and finished.
Preparing the Cabinet Door Surface
Before you even think about installing your new hardware, you must clean the surface of the cabinet door. Grease and grime buildup around old holes can prevent backplates from sitting flush against the wood. Use a mild degreaser and a microfiber cloth to ensure the area is pristine and free of debris.
Check the edges of the existing holes for any wood splinters or raised grain. If the wood is damaged, use a fine-grit sandpaper to smooth the area so the backplate sits perfectly flat. A loose or wobbling plate will eventually lead to scratches on your cabinet finish, so a flat contact point is essential for long-term stability.
If the old holes are exceptionally large or damaged, you might consider filling them with a small amount of wood filler before attaching the plate. While the backplate will hide the hole, filling it adds structural integrity and prevents moisture from seeping into the core of the wood. Ensure the filler is completely dry and sanded flush before proceeding with the installation.
Measuring and Marking for Perfect Alignment
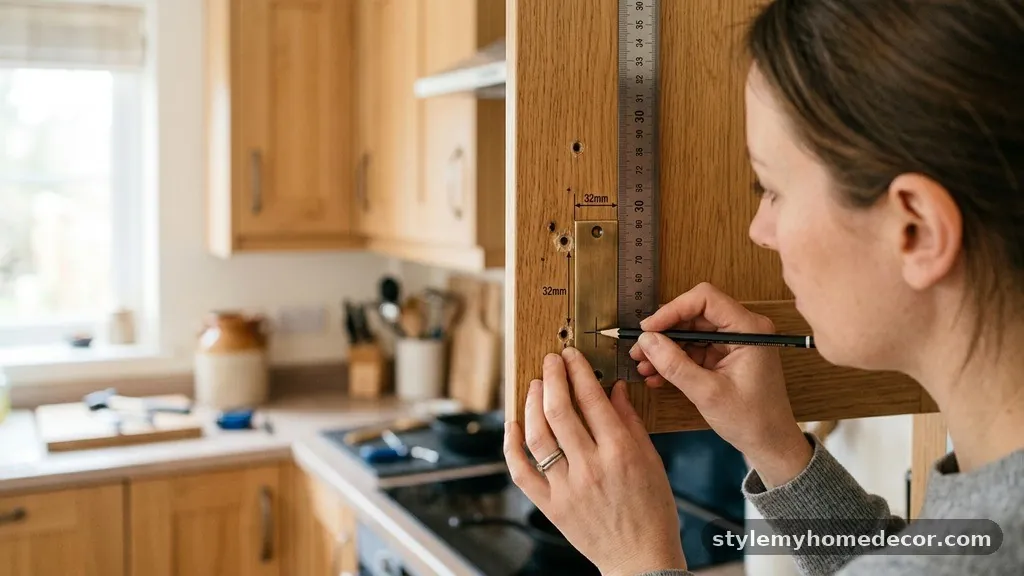
Precision is the most critical factor when installing hardware. Even if you are using a backplate to cover old holes, the new handle must be perfectly centered to look intentional. Use a template or a paper guide to mark the exact position of the new screw holes relative to the door edge.
Double-check your measurements before picking up the drill. A common mistake is measuring from the top of the door frame rather than the center of the panel. If you are installing multiple handles, use a jig or a spacer to ensure every single pull is at the exact same height across all cabinets.
When marking, use a sharp pencil or a center punch to create a small indentation. This dimple prevents the drill bit from “walking” or sliding across the wood surface when you start drilling. Taking these extra few seconds during the marking phase will save you from frustration and ruined cabinet doors later.
Drilling New Holes Safely
When you are ready to drill, always use a bit that matches the diameter of the screws provided with your new hardware. If you are drilling through a finished door, consider placing a piece of painter’s tape over the area. This helps prevent the finish from chipping or splintering as the drill bit breaks through the other side.
Hold the drill perfectly perpendicular to the door surface. If you drill at an angle, the screws will not sit flush against the backplate, which creates a noticeable gap. Use a steady, slow speed and let the drill bit do the work rather than pushing with excessive force.
If you are working on a hollow-core door, be careful not to drill too deep. You only need to penetrate the front layer of the wood. In cases where the door has a raised panel, ensure your drill path doesn’t hit a structural cross-brace, as this can make the installation much more difficult.
Installing the Backplate and Handle
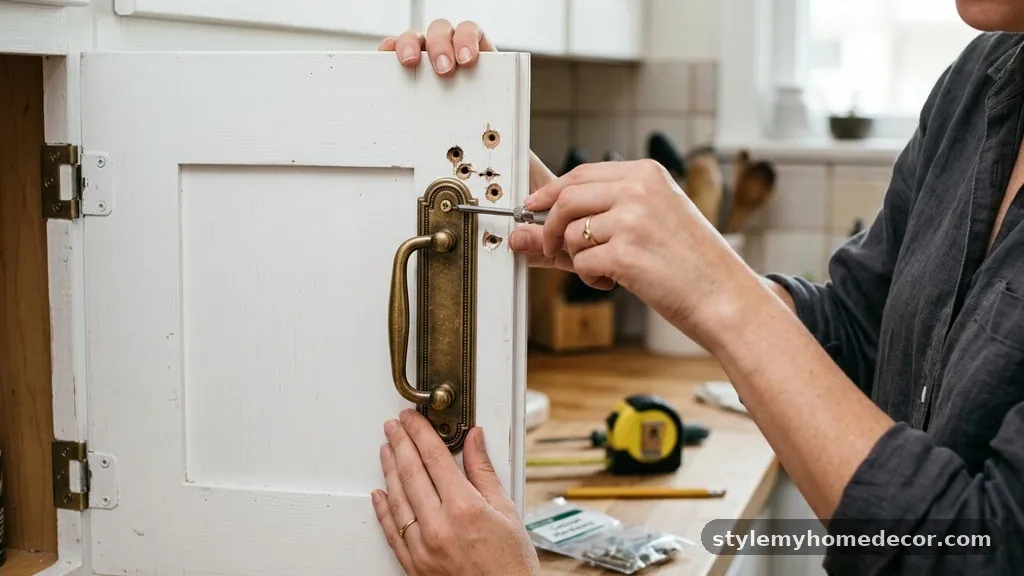
The actual installation process is usually the most satisfying part of the project. Start by aligning the backplate over your new holes. Slide the screws through the backplate and the cabinet door, then catch the threads on the handle pull from the front side.
Tighten the screws by hand initially to ensure everything is aligned correctly. Once you feel the threads engage, you can use a screwdriver to snug them up. Avoid using a power drill for the final tightening, as you might strip the screws or crack the cabinet material.
Check the alignment of the backplate one last time before the screws are fully tightened. If it looks slightly crooked, you can nudge it into place before locking it down. If you find the plate is still moving, a tiny drop of clear silicone adhesive on the back of the plate can provide extra grip without damaging the door.
Troubleshooting Common Installation Issues
Even with careful planning, you might run into issues during the installation. One frequent problem is the screw being too long or too short for the combined thickness of the door and the backplate. If the screw is too long, you can use a hacksaw to trim it or add a small washer to the back side of the door.
If the backplate doesn’t cover the old hole completely, don’t panic. You can often shift the new hardware slightly to adjust for the coverage area. If the gap is still visible, consider using a larger backplate or a different style of hardware that offers more surface area coverage.
Sometimes, the original holes are so poorly placed that they interfere with the new hardware entirely. In these rare cases, you might need to use a wood plug to fill the old hole completely. Once painted or stained, the area will be invisible, allowing you to mount your new hardware exactly where it needs to be.
Comparing Hardware Solutions
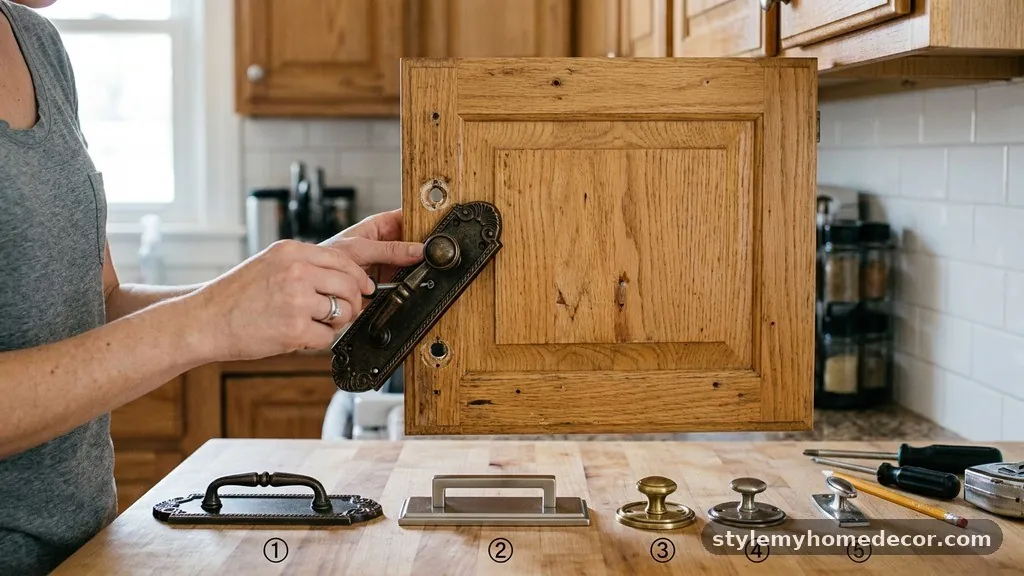
Different hardware configurations offer varying levels of coverage and aesthetic appeal. Use the table below to compare how different types of backplates handle old holes.
| Backplate Type | Best Used For | Coverage Level |
|---|---|---|
| Small Disc | Single-hole knobs | Minimal |
| Rectangular Plate | Handles and pulls | High |
| Ornate Rosette | Traditional knobs | Medium |
| Modern Bar Plate | Wide-span pulls | Excellent |
Maintaining Your New Cabinet Hardware
Once you have finished installing your backplates, maintenance is relatively simple. Wipe them down periodically with a soft, dry cloth to prevent fingerprints and dust buildup. Avoid using harsh chemical cleaners, as these can strip the finish off the metal and cause premature tarnishing or oxidation.
If you notice the plates starting to wiggle after a few months of use, check the tightness of the screws. Cabinet hardware experiences constant vibration and movement every time the doors are opened, so it is normal for screws to loosen slightly over time. A quick turn with a screwdriver is usually all that is required to keep everything secure.
Keep a spare set of screws and any specialized washers in a small baggie inside your junk drawer. If you ever need to replace a handle in the future, having the original hardware components on hand makes the process much easier. This small step ensures your cabinets remain in top condition for years to come.
Frequently Asked Questions
Can I install backplates on cabinets if the old holes are very large?
Yes, you can, but you should fill the large holes first. Use a wood filler or a dowel to plug the hole, sand it smooth, and touch up the paint. Once the surface is solid, the backplate will hide the repair and provide a stable mounting point for your new hardware.
What if my new hardware doesn’t fit the existing holes at all?
If the new hardware spacing is completely different, you have two options. You can either use a custom-sized backplate that spans the entire distance or fill the old holes entirely to create a clean slate. Filling and painting is the best way to ensure you aren’t limited by the previous layout.
Do I need special tools to install cabinet backplates?
No, most installations require only a standard screwdriver, a tape measure, and perhaps a drill if you are making new holes. If you are working with very hard wood, a pilot drill bit might be helpful to prevent the wood from splitting during the screw insertion.
Are there different finishes available for backplates?
Manufacturers offer backplates in almost every finish imaginable, including brushed nickel, oil-rubbed bronze, matte black, and polished chrome. You should choose a finish that complements your existing hinges to ensure a cohesive look throughout the kitchen or bathroom.
Will backplates damage the cabinet finish?
High-quality backplates have smooth, rounded edges that are designed to sit against the cabinet surface without causing damage. If you are worried about scratches, you can place a very thin, clear gasket or a piece of felt between the metal and the wood, though this is rarely necessary.
Final Thoughts on Cabinet Upgrades
Successfully installing Backplates on Cabinets to Hide Old Mismatched Holes is a rewarding project that elevates the look of any room. By carefully measuring your existing space, choosing the right style of hardware, and taking your time with the installation, you can achieve a result that looks like it was done by a professional. This method allows you to modernize your kitchen or bathroom without the significant expense of replacing your doors or cabinets entirely.
Remember that patience is your best tool when dealing with alignment and finish. If you encounter a challenge, take a step back and reassess your measurements before moving forward.
With these steps, you are well-prepared to improve your home’s aesthetic with confidence. Feel free to start your project whenever you are ready to see the transformation.