10 Pumpkin carving ideas
Discover 10 creative pumpkin carving ideas. Learn pro tips for preservation, safety, and unique designs to elevate your home decor this season.

Introduction
Pumpkin carving is the seasonal art of hollowing out and decorating pumpkins to create festive displays. Mastering Pumpkin carving allows you to transform simple gourds into glowing centerpieces for your home decor.
This article explores ten creative approaches to your seasonal displays, ranging from beginner-friendly patterns to advanced carving techniques. You will learn how to prepare your gourds for longer-lasting results, discover safe methods for working with various tools, and find inspiration for unique designs that go beyond the traditional jack-o-lantern face. Whether you are looking for easy pumpkin carving ideas to do with family or seeking professional-looking results, this guide provides the practical steps needed to achieve your vision. We also cover essential tips on using tools effectively and keeping your creations looking their best throughout the holiday season.
Creative Pumpkin Carving Designs

Pumpkin carving has evolved from a simple seasonal pastime into a sophisticated art form that allows for intricate expression. What began as a way to create traditional jack-o-lanterns with basic facial features is now a creative outlet for personalized home decor that elevates any festive display.
Modern approaches to this craft move beyond the standard triangle eyes and jagged smiles. Many enthusiasts now view the pumpkin rind as a canvas, using varied depths and textures to create complex scenes or elegant patterns. These personalized designs turn gourds into unique pieces that complement your existing interior and exterior aesthetic.
Home decor trends have shifted toward incorporating these custom creations into broader seasonal themes. Instead of just placing one pumpkin on the porch, you might stack them for a 3D effect or use them as temporary flower vases. These techniques help integrate your creations seamlessly into your home environment.
To achieve professional results, consider the following structural and stylistic tips:
- Clean your gourd from the bottom rather than the top to help the stem remain intact for a longer period.
- Experiment with surface carving by carefully removing thin layers of the skin to create glowing silhouettes without cutting all the way through.
- Use tools like metal loops or small scrapers to achieve different depths, which add dimension when illuminated from within.
- Swap traditional candles for LED tea lights to keep your display bright and safe throughout the season.
Personalizing your designs allows you to reflect your own taste while embracing the festive spirit. Whether you prefer minimalist geometric shapes or elaborate, fine-art style scenes, the focus is now on how these projects enhance your personal space. By treating each gourd as a functional piece of art, you transform a classic activity into a refined element of your seasonal styling.
Essential Pumpkin Carving Tools
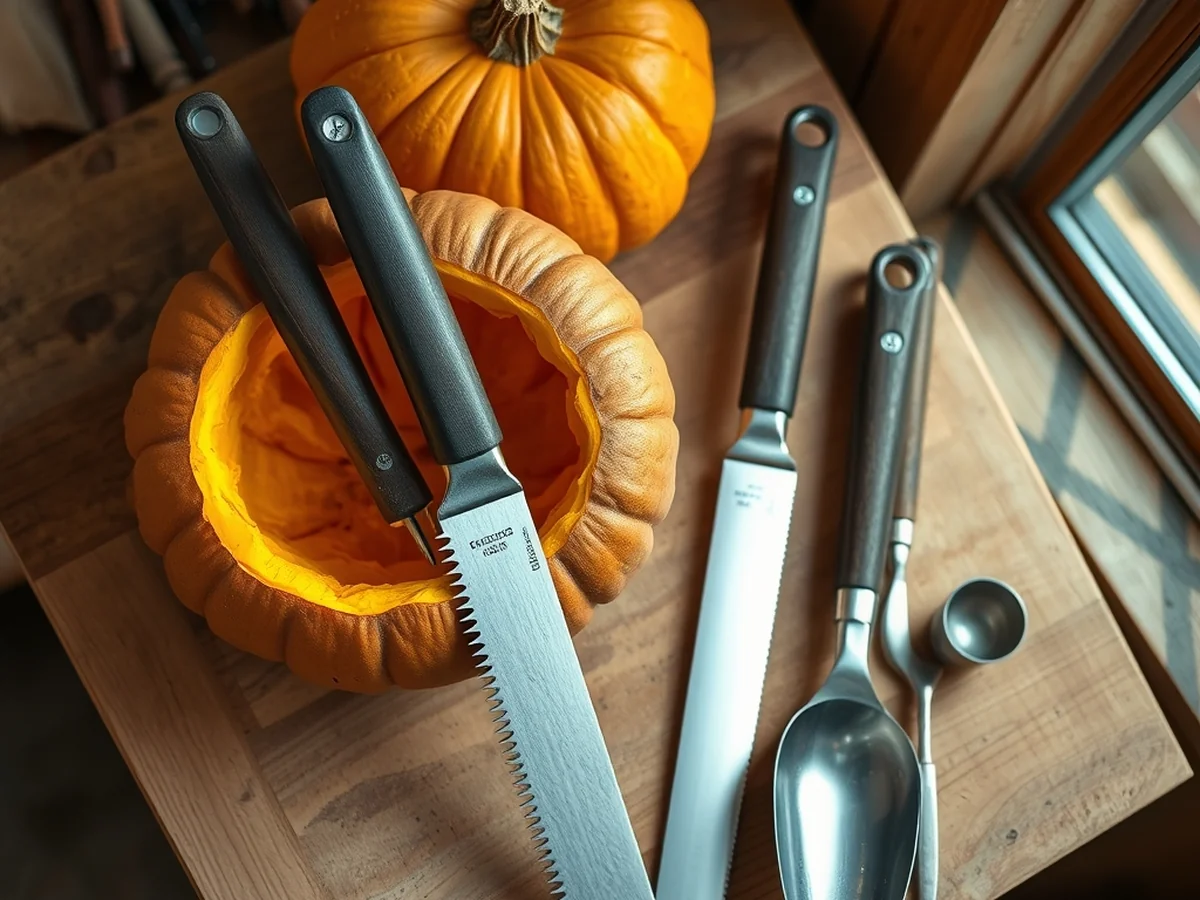
The right equipment makes transforming a seasonal gourd into a festive decoration much easier and significantly safer. Starting with a solid foundation and reliable implements ensures your project proceeds smoothly from the initial cut to the final reveal.
Preparing a sturdy workspace is the most critical first step, as a stable surface prevents the gourd from rolling and keeps your hands in a secure position. Lay down several layers of newspaper or a plastic tablecloth to manage the inevitable mess, and always ensure you have ample lighting to see your work clearly. According to Cornell University, cleaning the interior out from the bottom helps the stem remain intact for a longer period, which adds to the longevity of your display.
When selecting pumpkin carving tools for beginners, focus on items that provide control and precision without requiring excessive force. Many household items can be repurposed, while specialized kits offer blades designed specifically for the thick rind of a gourd.
- Serrated knives are ideal for cutting through the thick outer wall because they grip the surface and reduce the risk of the blade slipping.
- A sturdy metal spoon or a dedicated scoop works best for removing the pulp and seeds from the interior cavity.
- Vegetable peelers are excellent for scraping away the outer skin to create varying levels of transparency for your design.
- A clay loop tool provides superior control when you want to refine fine lines or shave down specific areas of the rind.
- Small, sharp paring knives help with intricate sections, but always remember to cut away from your body for safety.
Experimenting with different instruments allows you to achieve various textures and depths in your design. While traditional blades are perfect for through-cuts, shaving tools open up possibilities for artistic shading that adds character to your seasonal home decor.
Preparing Your Pumpkin Properly
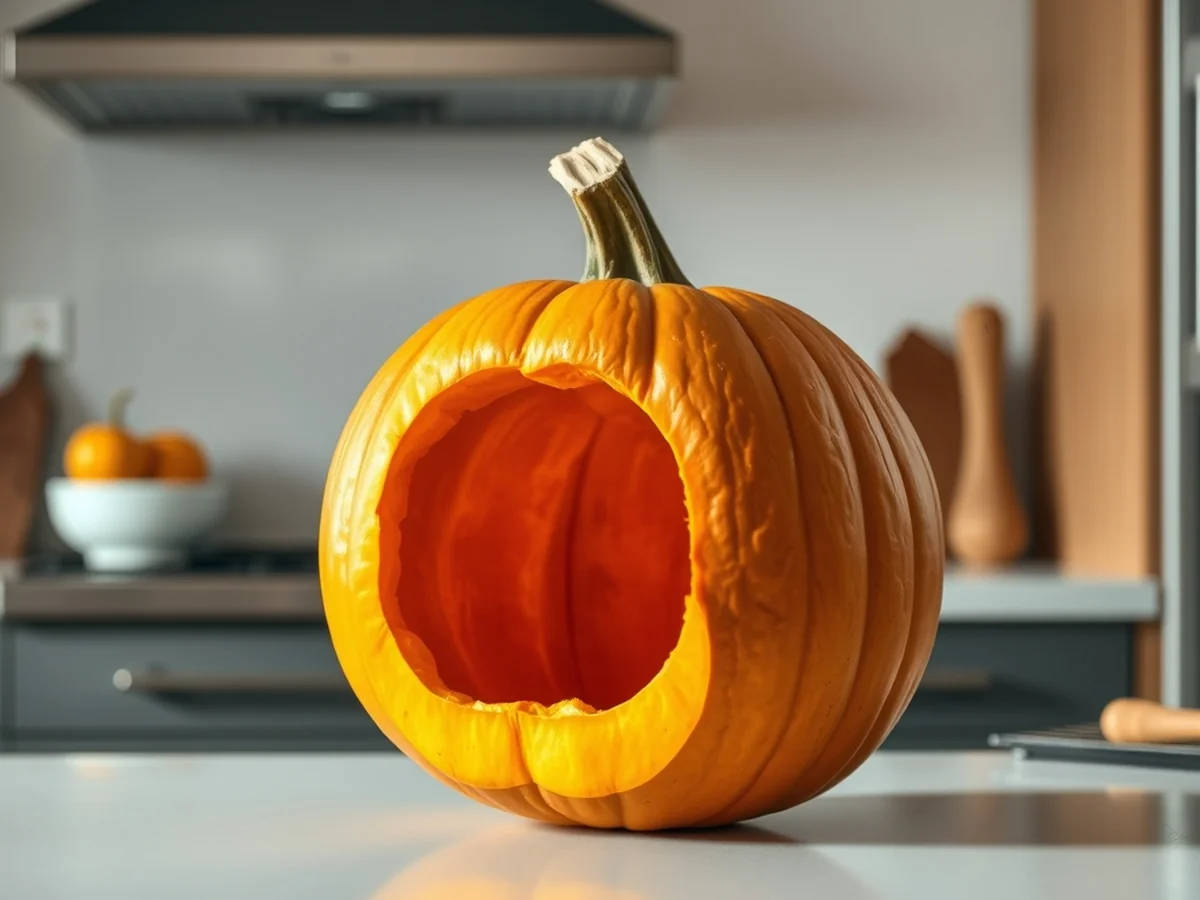
The foundation of a long lasting display begins with how you approach the interior of the gourd. According to Cornell University, cleaning a pumpkin out from the bottom helps the stem remain intact for a longer period. By removing the base instead of the top, you allow the pumpkin to sit flush against a flat surface. This structural shift moves the weight of the fruit away from the stem, which is often the first part to wither and break. As an added benefit, this method makes it much easier to place your pumpkin over LED tea lights rather than trying to balance them inside through a hole in the top.
Refining the Interior Walls
While clearing the seeds is the most obvious step, the texture of the remaining interior walls is just as important. Use a metal scoop or a large spoon to scrape the inner walls until they are smooth and free of loose, stringy pulp. These damp fibers are the primary breeding ground for mold and bacteria, which can cause your creation to rot or collapse prematurely. By creating a smooth surface, you reduce the surface area available for moisture to cling to, which is a key part of how to preserve a carved pumpkin throughout the Halloween season.
Creating a Safe Workspace
When gathering your pumpkin carving tools for beginners, ensure your environment is set up for precision and safety. Work on a level, non slip surface, such as a sturdy table covered with several layers of newspaper to absorb any leaked juices. Avoid working on soft or uneven surfaces, as these increase the risk of your tools slipping and causing accidental nicks.
- Select a flat, stable workspace to ensure your hands remain steady.
- Use a metal scoop or a large spoon to scrape the interior walls until they feel smooth.
- Ensure you have removed all loose fibers, as these retain moisture that accelerates spoilage.
- Place your pumpkin on a dry surface to prevent the base from absorbing excess moisture during the process.
Note that while you are preparing the fruit, keep in mind that although pumpkin flesh is generally considered healthy for dogs, the skin should not be ingested by pets. Always clear your workspace of scraps to keep curious animals safe.
Easy Carving Techniques
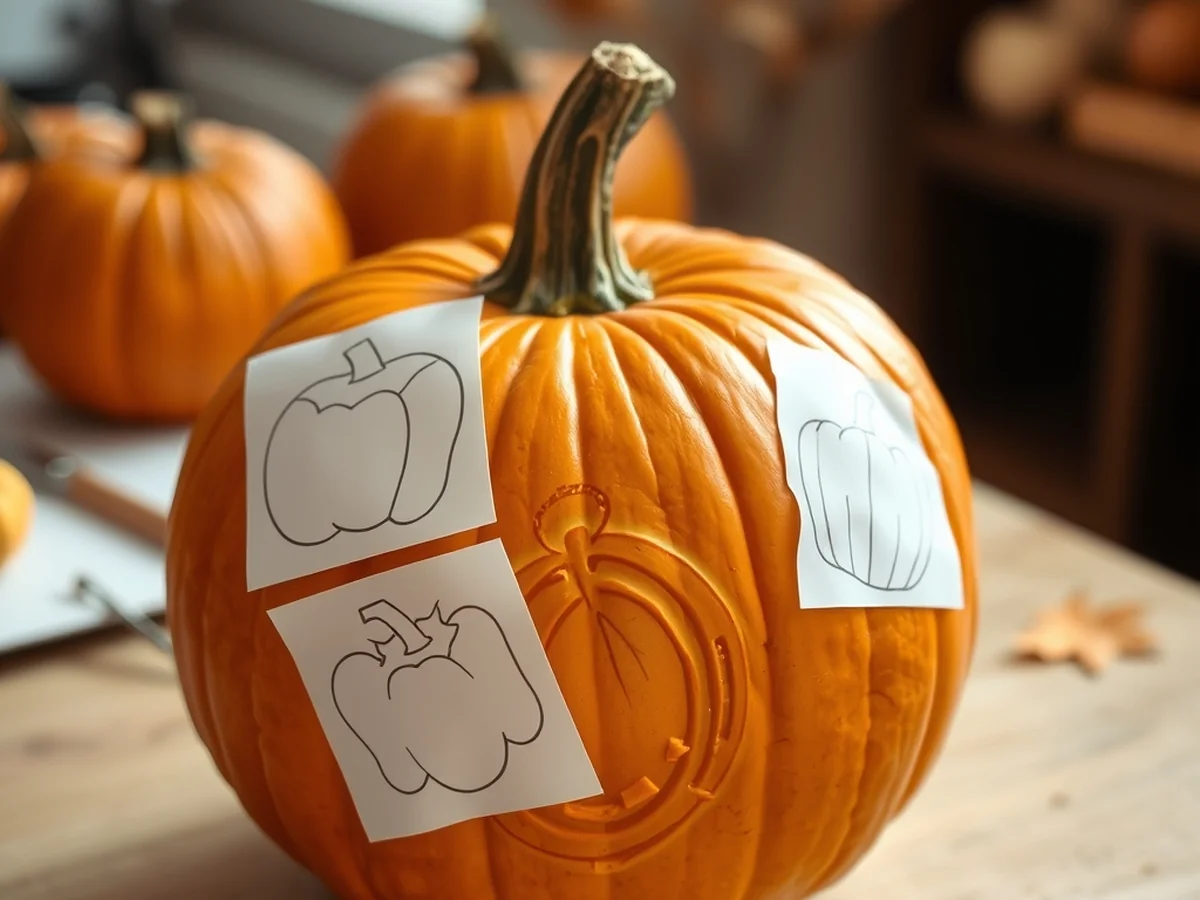
Mastering the art of seasonal design begins with preparation and selecting the right approach for your skill level. Whether you are aiming for a classic jack-o-lantern or looking to create modern, artistic displays, using professional templates serves as an essential guide. These patterns provide a clear roadmap for your design, which helps maintain the structural integrity of the gourd while ensuring your vision translates accurately onto the surface.
Refining Your Technique
A common mistake for beginners is attempting to cut through the entire rind in one go. Instead, consider surface shaving to add depth and dimension to your work. By gently scraping away the top layer of skin rather than piercing through, you can create shaded areas that glow with a soft, diffused light when illuminated from within. This method is ideal for intricate patterns that would be too delicate for full incisions. When applying your design, use painter’s tape to secure your pumpkin stencil to the gourd, which prevents the paper from shifting while you trace your lines.
If you prefer traditional cutouts, practice patience to ensure clean edges. Use a consistent sawing motion rather than applying forceful pressure, which can lead to slips or jagged cuts. If you are new to the craft, experimenting with these techniques on a smaller scale helps build confidence before moving on to larger, more ambitious designs.
Pro Tips for Longevity
To help your display last longer, consider the way you prepare the pumpkin. According to Cornell University, cleaning a pumpkin out from the bottom helps the stem remain intact for a longer period, keeping your display looking fresh. If you choose to illuminate your final piece, prioritize safety by opting for LED tea lights instead of traditional candles. This prevents heat damage to the inner flesh and reduces fire risks.
For those interested in exploring different styles, consider these methods:
- Use specialized tools, such as a clay loop tool or linoleum block printing tools, to carefully shave the surface and reveal the lighter-colored flesh underneath.
- Create decorative scalloped edges along the top or bottom of your design to add a professional, polished border.
- Stack multiple pumpkins of varying sizes to create a unique 3D vertical sculpture that serves as a striking focal point for an entryway.
- Keep in mind that while pumpkin flesh is typically considered healthy for dogs, the raw skin should not be ingested by your pets.
By focusing on these safe, controlled methods, you can elevate your seasonal decor while enjoying the creative process. These easy pumpkin carving ideas help you achieve professional results while mastering the basics of pumpkin carving.
Safe Pumpkin Carving Tips

Prioritizing safety is essential for a successful seasonal project. This activity is rewarding, but it involves sharp implements that require care, especially when children are involved. By establishing a secure environment and using the right equipment, you can ensure the process remains injury-free for everyone.
Supervision and Tool Selection
If younger family members want to participate, direct and hands-on supervision is mandatory. It is helpful to assign age-appropriate tasks to children, such as cleaning out the interior pulp or sketching designs using a pumpkin stencil, while adults handle the cutting. When selecting equipment, move away from standard kitchen knives, which can slip easily on the curved, waxy surface of a gourd. Instead, invest in specialized pumpkin carving tools for beginners. These kits typically feature smaller, serrated saws that offer greater control, allowing for precision while significantly reducing the risk of accidental cuts.
Workspace and Preparation Best Practices
Creating a stable, well-lit workspace is the first step toward a safe experience. Keep your area free of clutter to maintain a firm grip on your tools. For a practical approach to construction, clean the gourd out from the bottom. According to Cornell University, cleaning a pumpkin out from the bottom helps the stem remain intact for a longer period while providing a flat, stable base for your light source. This method also prevents the top from collapsing or drying out prematurely.
Consider these essential practices to keep your project secure:
- Choose LED tea lights rather than traditional open flames to eliminate fire hazards and prevent melting wax.
- Ensure your carving area is dry, as damp surfaces can lead to slips while you are applying pressure to the tool.
- If you are interested in surface designs, explore using a vegetable peeler, clay loop tool, or a linoleum cutter to shave layers of the rind rather than cutting through the entire wall.
Post-Carving Safety
Once your project is complete, consider the safety of your pets and younger children. While pumpkin flesh is generally considered healthy for dogs, the skin should not be ingested by pets. Place your finished creations in a secure spot away from curious animals and small children to ensure your festive display remains safe for everyone in your home.
Preservation and Longevity
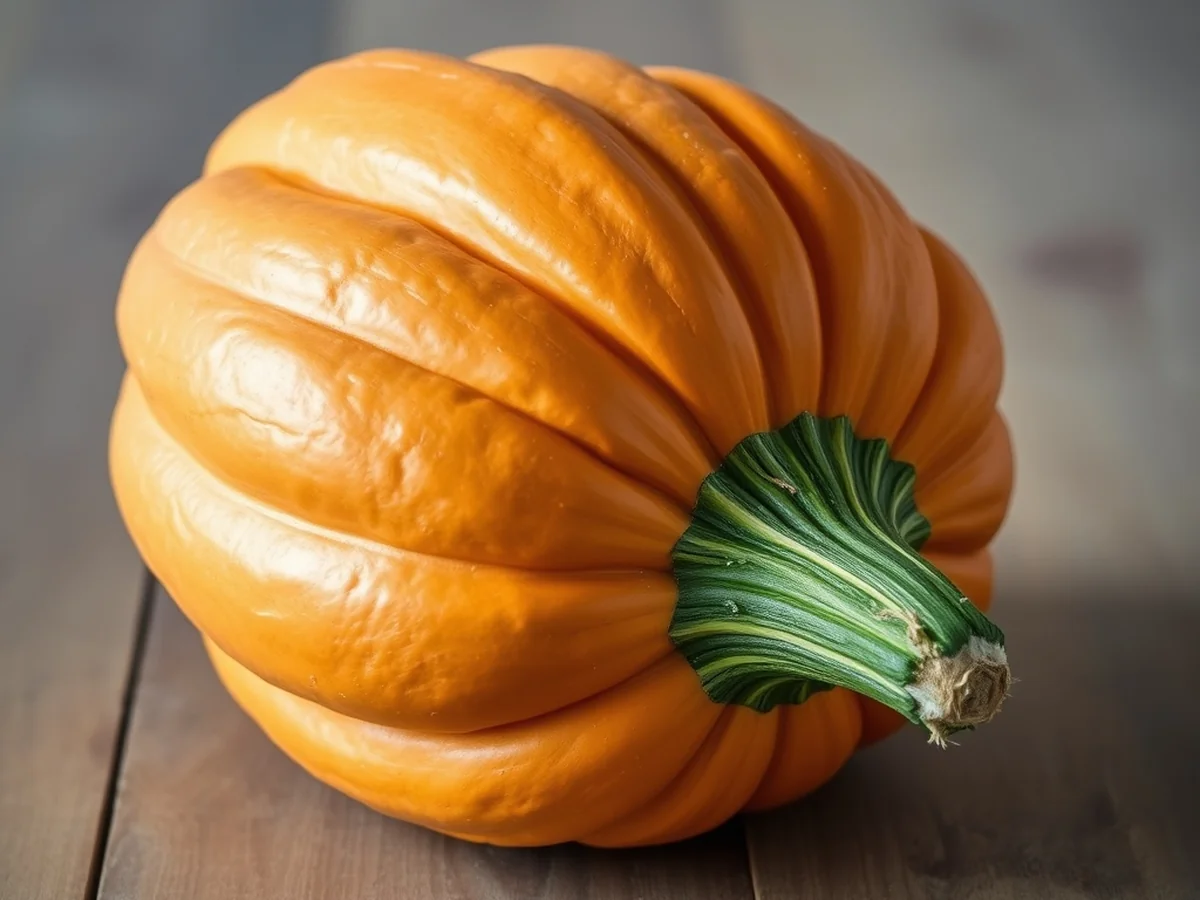
To extend the life of your display, cleaning the interior from the bottom helps the stem remain intact for a longer period. This method allows the pumpkin to sit flat while the top remains secure, which reduces the structural stress that often leads to early decay.
Temperature and moisture are the primary factors influencing how quickly your creation will deteriorate. Keeping your finished piece in a cool, shaded environment helps prevent the rapid wilting caused by direct sunlight or high heat. Excess moisture trapped inside the hollowed cavity encourages mold growth, so wiping the interior dry occasionally or ensuring proper airflow can significantly help you maintain your work.
If you are looking for tips on how to preserve a carved pumpkin, consider the environment where it will be placed. Placing your display on a porch or table away from damp ground surfaces helps minimize contact with moisture that might accelerate rot. Avoid using traditional candles that generate heat, as the warmth can speed up the breakdown of the pumpkin walls. Using LED tea lights is an effective way to illuminate your design without introducing damaging thermal energy.
If you happen to find local wildlife or pets interested in your display, keep in mind that the inner flesh is healthy for dogs if scavenged. However, the tough outer skin should not be ingested, as it can be difficult for animals to digest. Monitor your outdoor displays closely to ensure that any curious visitors are not consuming the exterior rind or any decorative elements you may have attached.
Decorative Finishing Touches
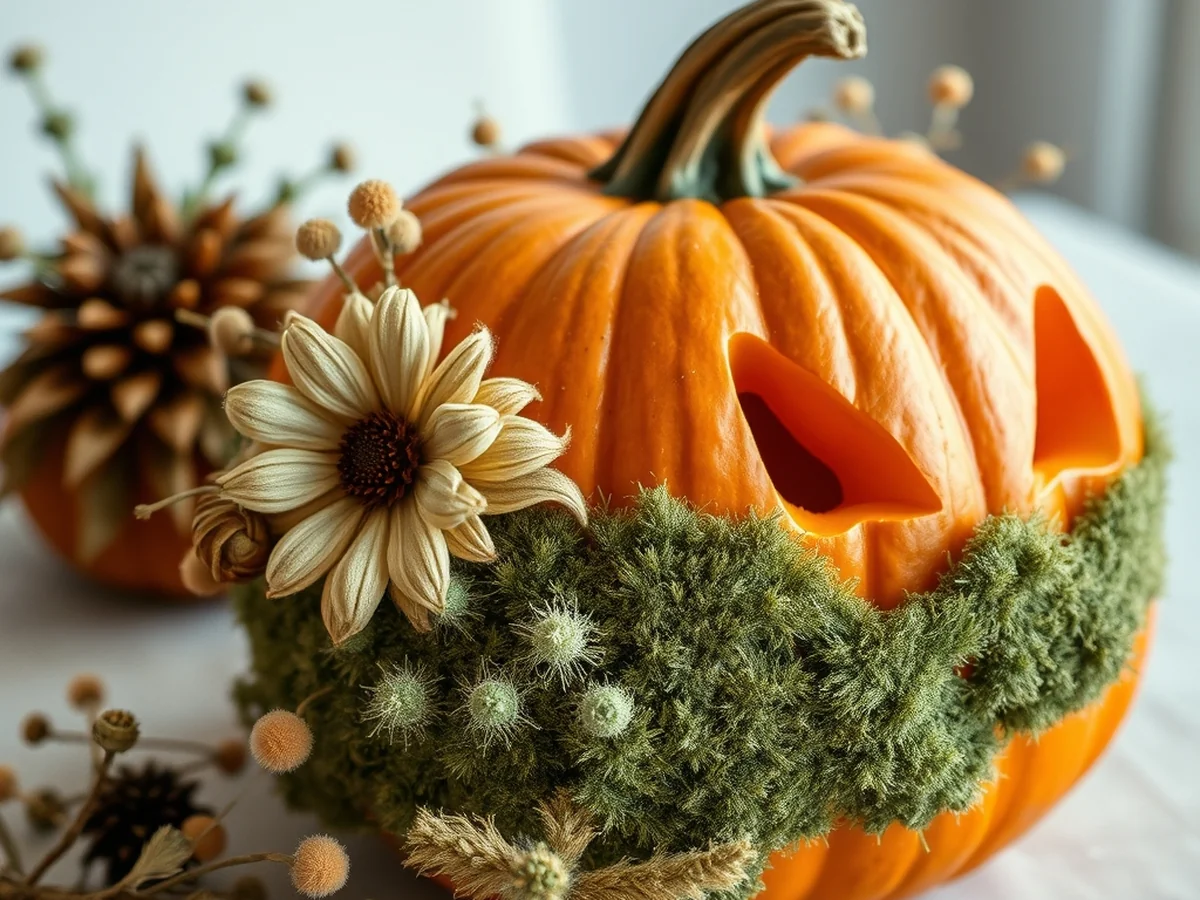
Elevating your seasonal display involves moving beyond basic cutouts to incorporate textures, floral arrangements, and structural designs. These creative finishing touches transform a standard project into a unique piece of home decor. By shifting your focus from simple shapes to multi-layered aesthetics, you can create a centerpiece that stands out.
Consider these practical methods to enhance your next pumpkin carving:
- Surface Shaving: Instead of cutting all the way through the rind, use a vegetable peeler or similar handheld tool to gently remove the outer skin. This technique allows light from LED tea lights to shine through the thinner flesh, creating a soft, ethereal glow rather than a harsh, direct beam.
- Floral Accents: Turn your hollowed gourd into a vibrant, seasonal vase. Fresh or dried flowers add a sophisticated touch, but ensure the interior is completely cleaned out and dried first to prevent premature decay.
- Vertical Stacking: Stack multiple gourds of varying sizes to create a 3D effect. You can connect different carved faces or patterns vertically to build a whimsical tower that serves as a focal point for your porch or table.
- Mixed Media: Apply acrylic paint or metallic markers directly to the rind to add intricate patterns or bold colors that complement your cut designs. You can also attach craft items like ribbons, fabric scraps, or decorative pins for a textured, multidimensional look.
A common mistake is neglecting the structural integrity of the gourd. According to Cornell University, cleaning a pumpkin out from the bottom helps the stem remain intact for a longer period, keeping the overall structure sturdy for your decorations. Avoid the error of leaving damp pulp inside, as moisture accelerates rot. If you are decorating with pets in mind, keep in mind that while pumpkin flesh is often considered healthy for dogs, the skin should not be ingested, so ensure your finished display is placed securely out of reach.
Finally, keep your display in a cool area to extend its lifespan as long as possible. Sunlight and heat are the primary enemies of a fresh carving, so moving your finished project to a shaded or indoor spot during the warmest parts of the day can help your hard work last throughout the season.
Alternative Display Ideas
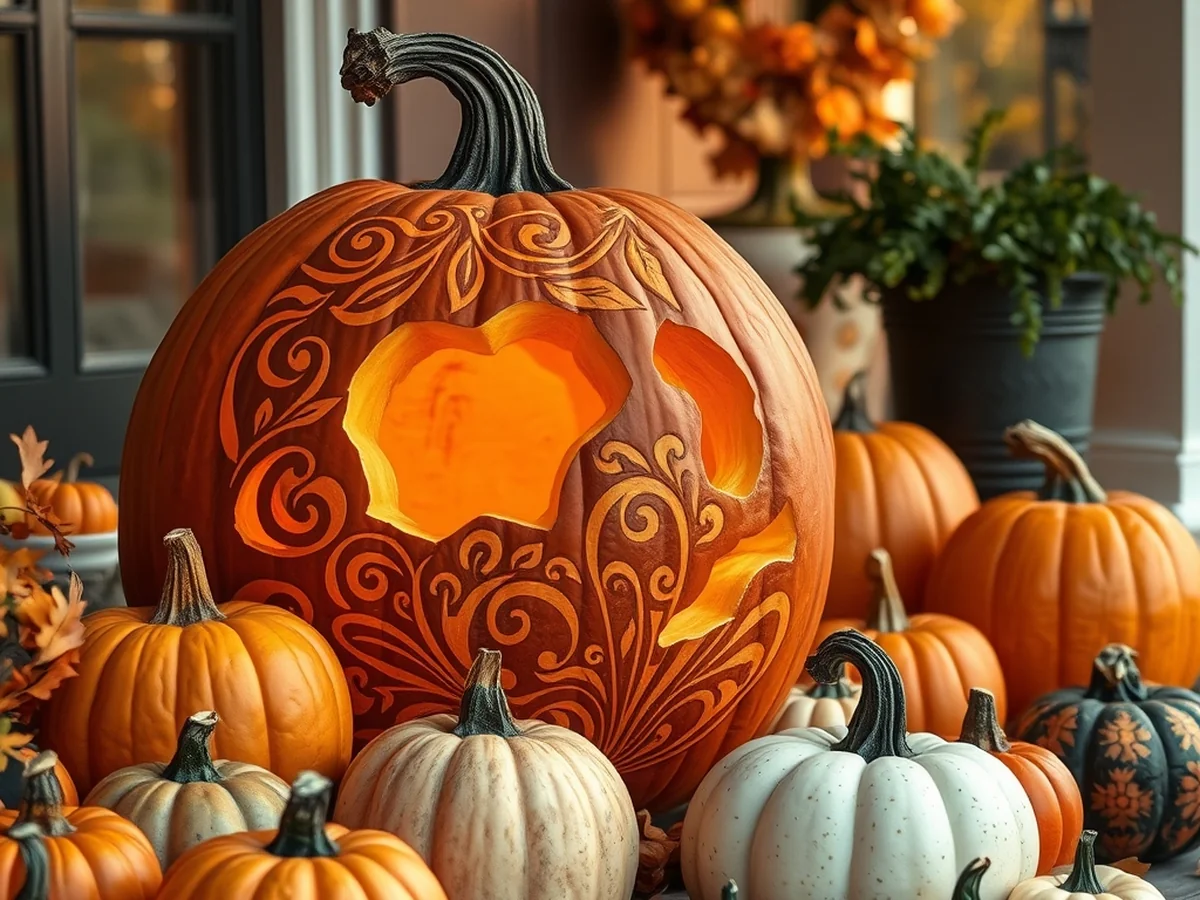
Beyond traditional jack-o-lanterns, creative decor offers endless potential for those looking to elevate their seasonal style. While smaller gourds often serve as temporary accents, the structural integrity and thick walls of a standard pumpkin make it a superior canvas for complex designs. Cornell University notes that cleaning a pumpkin out from the bottom helps the stem remain intact for a longer period. For those with pets, common guidance suggests that while pumpkin flesh is generally considered healthy for dogs, the skin should not be ingested.
Designing with Pumpkin Diptychs
To create a larger visual impact, consider designing pumpkin diptychs. This technique involves splitting a single, cohesive image or story across two separate pumpkins placed side by side. This approach is ideal for wide scenes, sprawling landscapes, or character faces that require more horizontal surface area than a single pumpkin can provide. It adds a sense of scale and artistic intent to your front porch or entryway.
Surface Carving Techniques
You can achieve depth and shading by using surface carving rather than cutting all the way through the rind. By removing only the outer layer of the skin, you create a translucent effect that glows when backlit. You might experiment with various specialized tools to shave away the surface. This method is excellent for adding intricate detail to your designs without compromising the structural stability of the fruit.
Safe Lighting and Preservation
Modern lighting setups provide a safer, longer-lasting alternative to traditional wax candles. Utilizing LED tea lights or battery-operated light strings eliminates the risk of open flames and keeps the interior of the pumpkin cool. This prevents the heat damage that often accelerates rot, helping your decorations stay fresh for the duration of the season. When planning your display, ensure the area is level to prevent tipping and confirm that all electrical components are rated for outdoor use. Whether you are using easy pumpkin carving ideas or advanced sculptural techniques, these safe pumpkin carving tips ensure a beautiful result.
FAQ
What is pumpkin carving?
This artistic practice involves removing the interior flesh of a gourd and cutting designs into the outer rind to create decorative displays. It is a traditional seasonal activity that typically involves using instruments to hollow out the fruit and shape patterns that illuminate when a light source is placed inside.
What is the easiest way to carve pumpkins?
The easiest way is by cleaning the interior out from the bottom rather than cutting off the top. According to Cornell University, this method ensures the stem remains intact for a longer period and provides a stable base for the project to sit on while you work.
What are some approachable patterns for those new to the craft?
You can find success by using simple geometric shapes like triangles for eyes or a basic jagged mouth design. Another approach is surface carving, where you gently shave off layers of the outer skin to create glowing silhouettes without cutting all the way through the rind.
What gear should I use to get started?
You can begin with standard kitchen items like a small serrated knife, a metal spoon for scooping, and a marker to sketch your design directly onto the surface. Many enthusiasts also find that using a linoleum cutter, a clay loop tool, or other linoleum block printing implements helps with more detailed decorative work.
How can I keep my display safe?
You should use LED tea lights instead of traditional candles to prevent fire hazards and avoid potential damage to your design from heat. If you have pets, it is common guidance that the inner flesh is generally safe for them to eat, but they should not ingest the skin.
How do I know if my instruments are appropriate?
Always choose safe methods by ensuring your instruments are sharp enough to glide through the rind without requiring excessive force. If you are experimenting with different textures, a vegetable peeler can provide a smooth finish on the surface.
Conclusion
The best next step is to select your favorite design and gather the appropriate tools to begin your project. Cleaning a pumpkin out from the bottom helps the stem remain intact for a longer period, keeping your display looking fresh. Whether you choose intricate details or simple silhouettes, preparing seasonal gourds is a rewarding way to personalize your decor. Once you have cleared your workspace, you are ready to bring your festive vision to life.
Sources: alumni.cornell.edu
You might also like: 10 Pumpkin Carving Ideas